As I learned more about the world of mechanical keyboards, I wanted to experiment with new switches, play with new keycaps, and most importantly try my hand at building my own.
Choosing the Keyboard
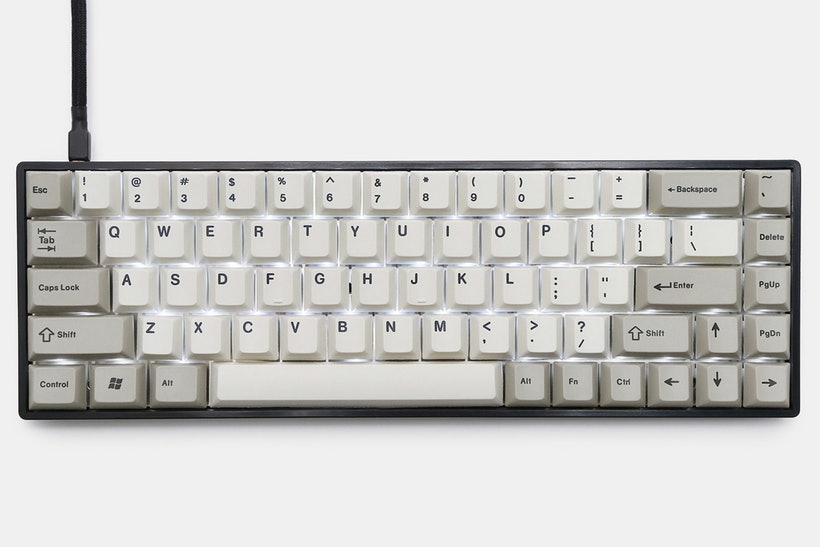
Custom mechanical keyboards come in a wide variety of form factors and layouts - this is one of the main draws of building and tweaking your own board. Among the most common are the 60% (no function row, no keys to the right of the enter key, and frequently no arrow keys) and 75% (includes the function row and typically a single column of keys like home and end). I really like the 65% form factor particularly because it retains the arrow keys but is otherwise pleasantly compact. After some searching I settled on the TADA68 which can purchase as a DIY kit, and has the option of a very nice aluminum case.
The other most vital components to select are the switches. This will be entirely personal preference, and it’s best to test several types of switches before purchasing the full array needed to fill out your keyboard. Many websites sell switch testers in a variety of sizes, but it would also be a great idea to ask friends to try their keyboards, try to attend some keyboard meetups (frequently organized through r/MechanicalKeyboards), and even watch some youtube videos comparing the sound and feel of different switches. Most custom keyboard switches are in the Cherry MX form factor, and I would recommend sticking with that form factor unless you really know what you’re doing. To use another form factor such as Alps requires a different PCB, different keycaps, and severely limits your customizability. Some of the most common Cherry MX form factor brands are Cherry, Gateron, and Kailh which are companies that each manufacture their own switches. There is a deep rabbit hole of customizations to these switches. There are designer switches like Zealios (designed by ZealPC and manufactured by Gateron) or Halos/Hakos (designed by Input Club and manufactured by Kailh). There are even designer mods such as Pandas that are a hybrid of a slider from a Cherry MX Clear switch and the spring from a Cherry MX Black switch, and even more obscure switches like the Hako Royals which contain the stem, spring, and top housing from the Hako switches, and the thicker leaf that is found in the Royal switches.
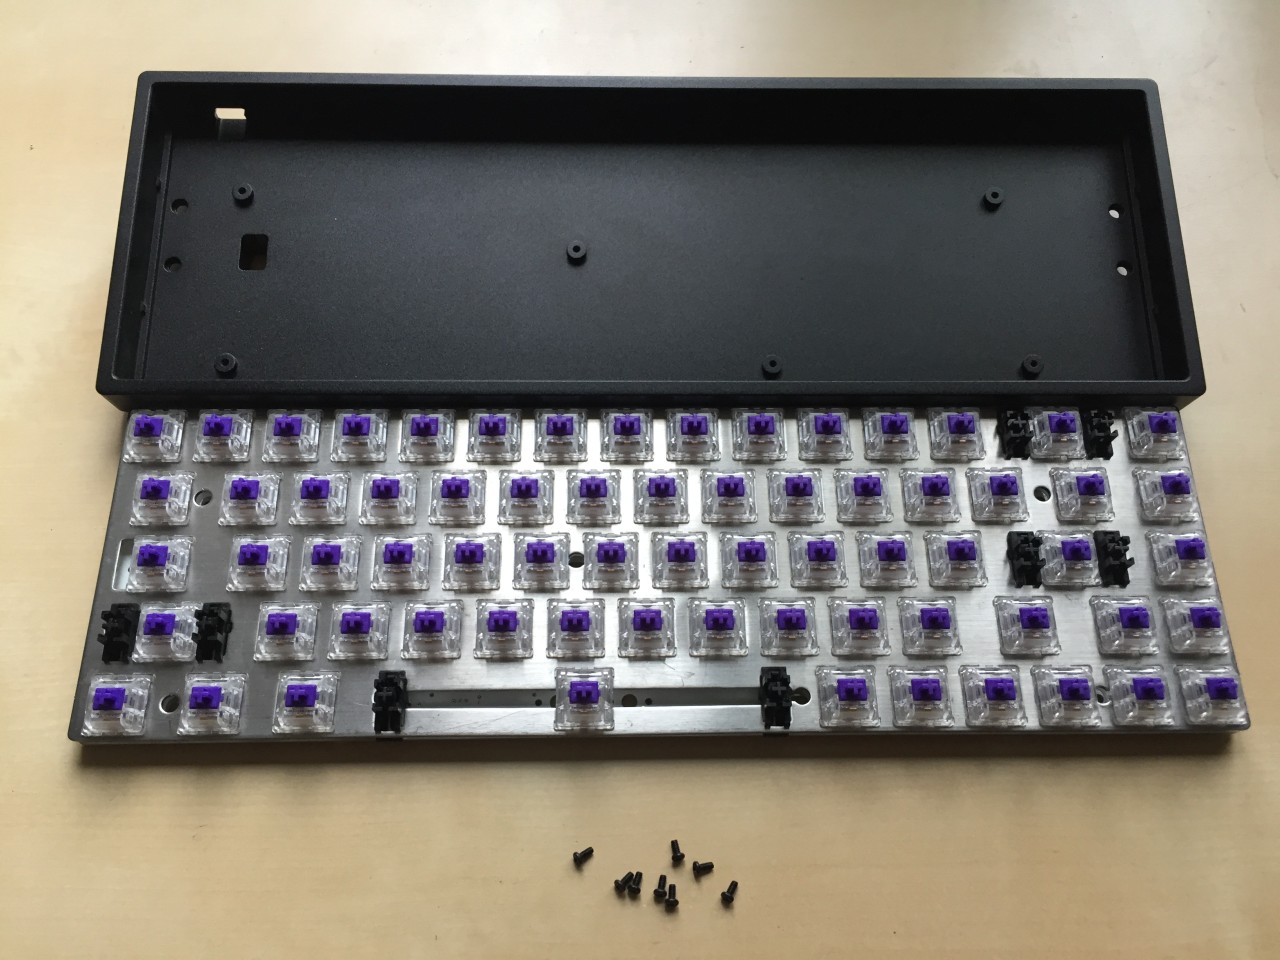
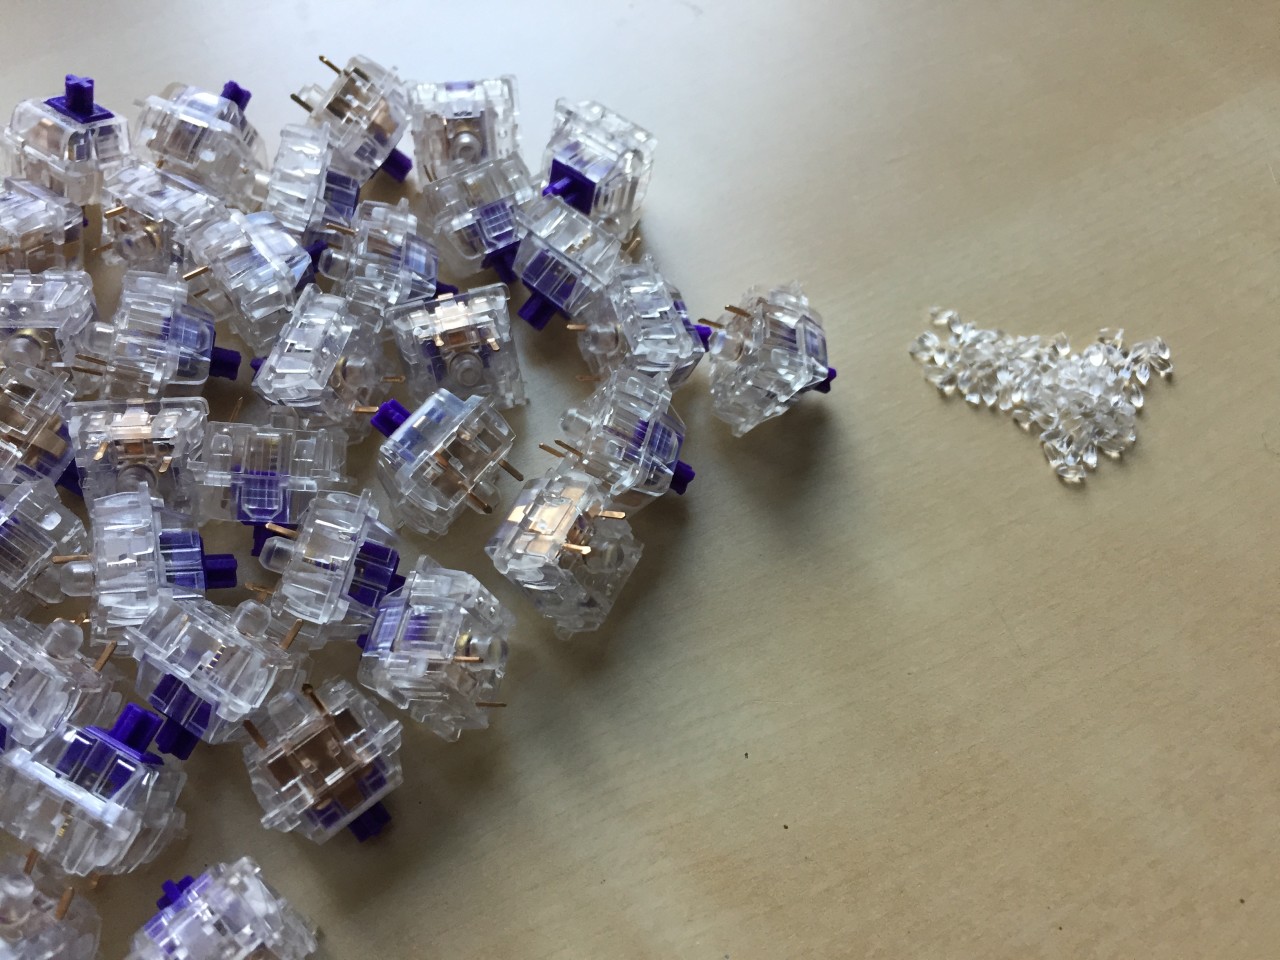
For this keyboard I settled on the Zealios 65g, which are a tactile switch with a smooth (as opposed to scratchy) bump to actuate the switch. I ordered 70 switches for a 68 key keyboard because they’re commonly sold in packs of 10, and it’s a good idea to have one or two extra in case of a defect or a mistake when installing.
Putting it together

In order to build a custom keyboard, you should have the following components:
- PCB
- This is the circuit board that contains all the logic for the keyboard
- Plate
- This is commonly a metal plate that holds the switches in place, unless the keyboard is PCB-mount only
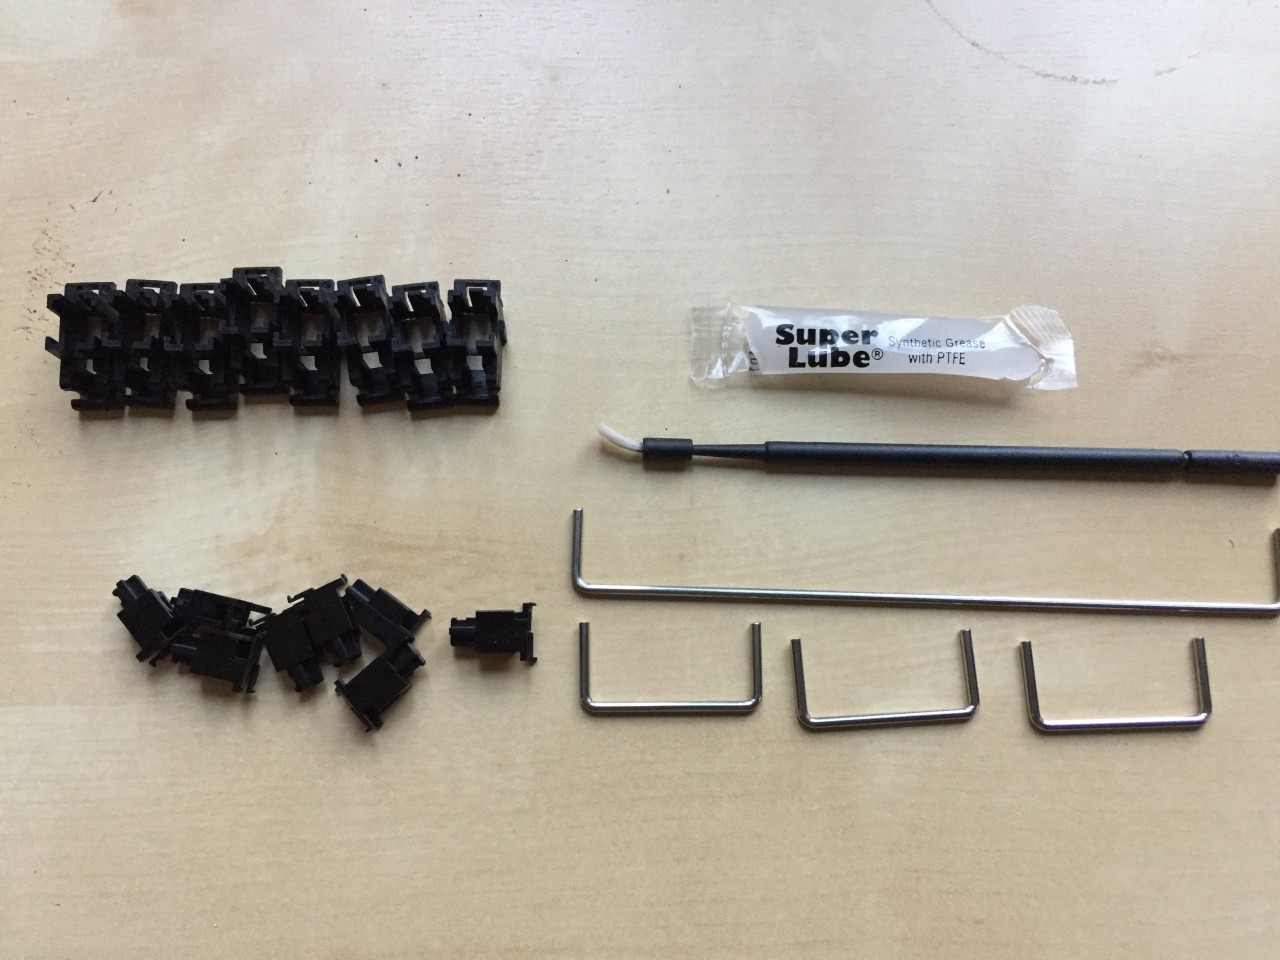
- Stabilizers
- Also called “stabs”, these are the metal bars with plastic housings that stabilize large keys like the space bar, enter, backspace, and shift.
- Switches
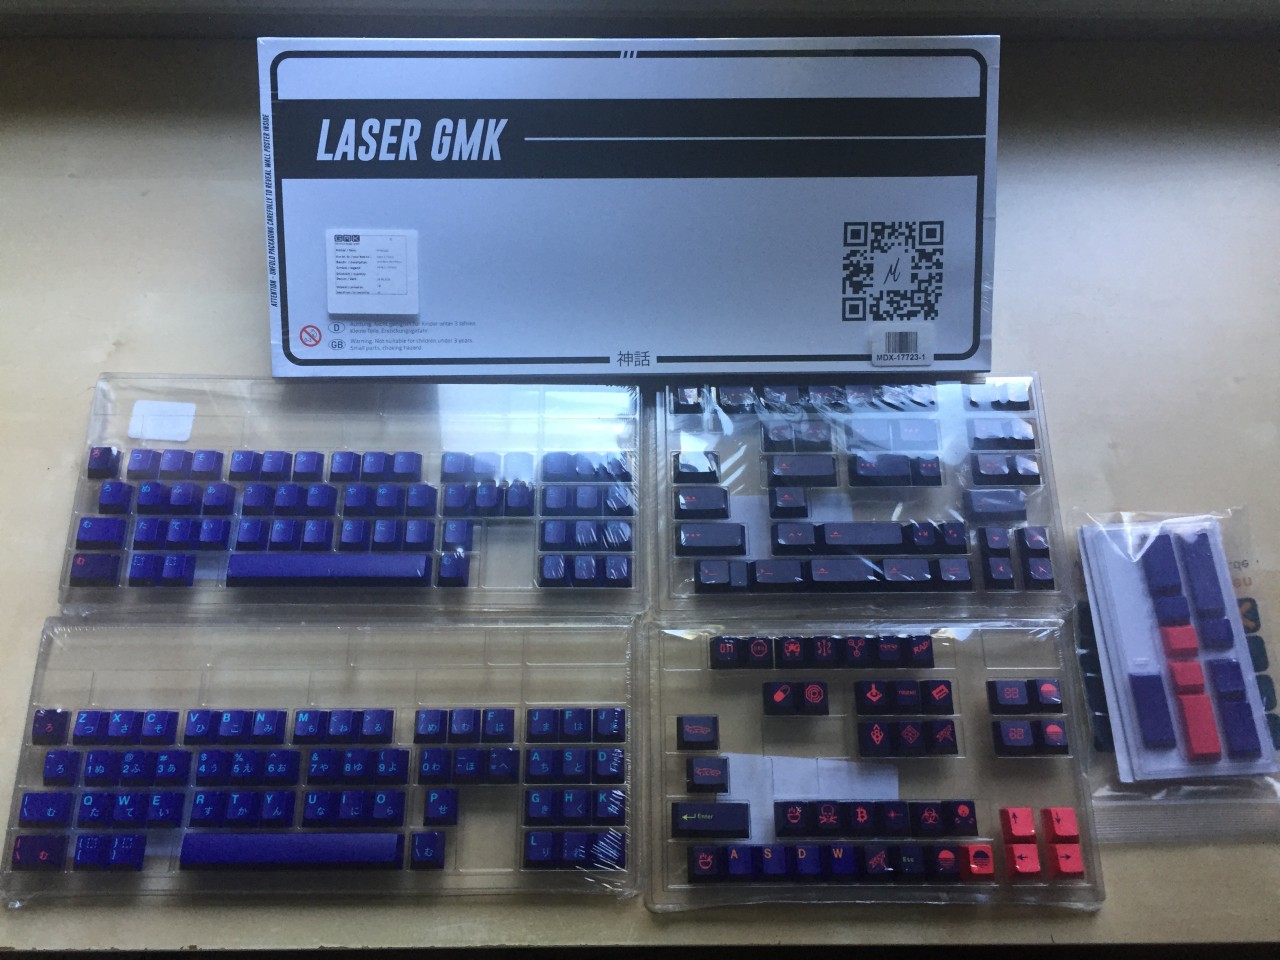
- Keycaps
- Case
- Lube (optional)
- There are many kinds of lube for different applications:
- Between the metal bar and plastic housing of the stabs a good choice is dielectric grease because it’s a thick heavy grease
- Between the plastic post and plastic housing of the stab a good choice is teflon grease because it is a fine lubricant
- Within the switches themselves, a popular option is Krytox to lube the moving parts and reduce reverberation from the spring within the switch
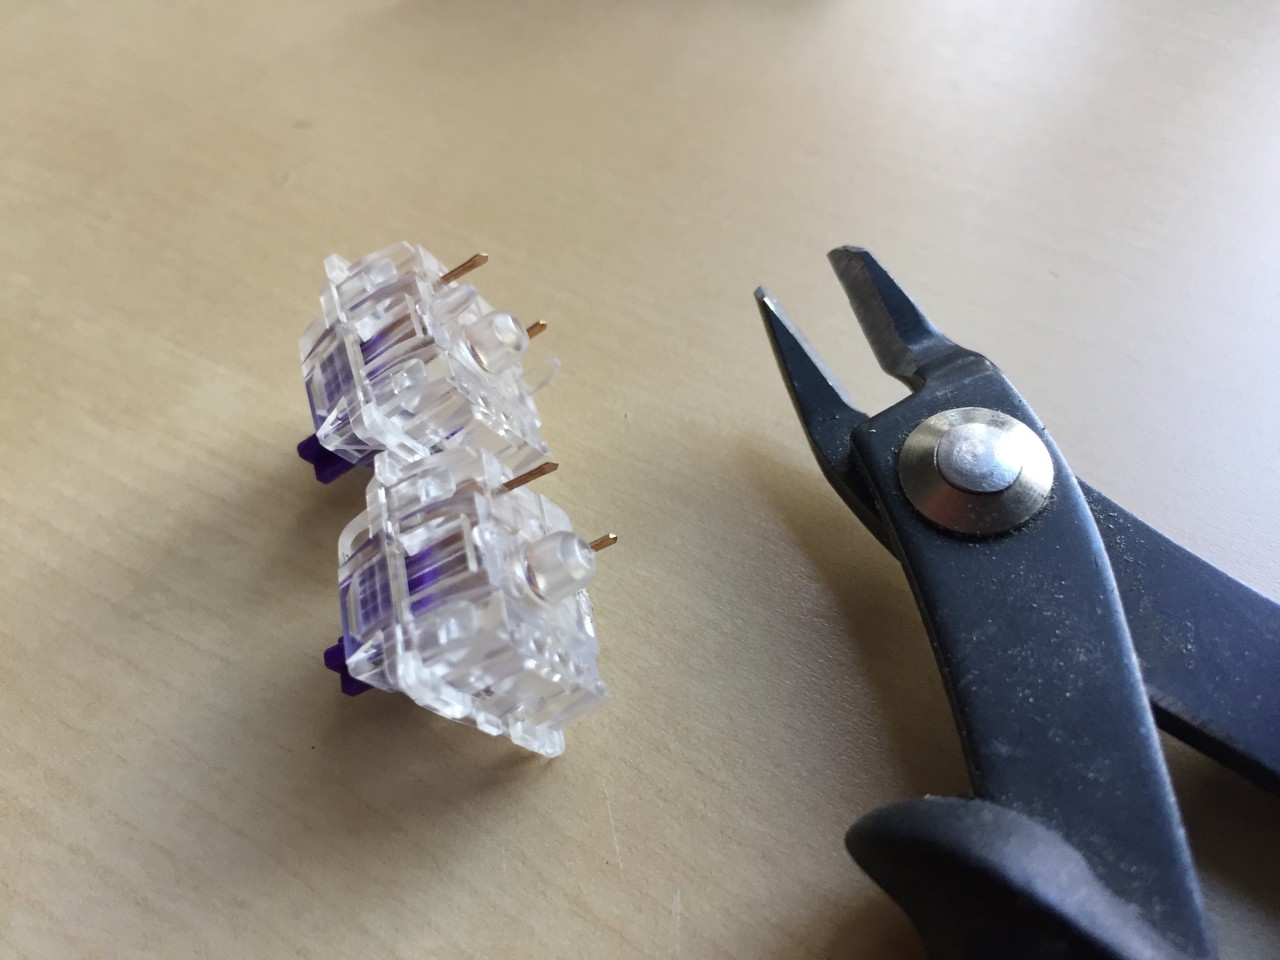
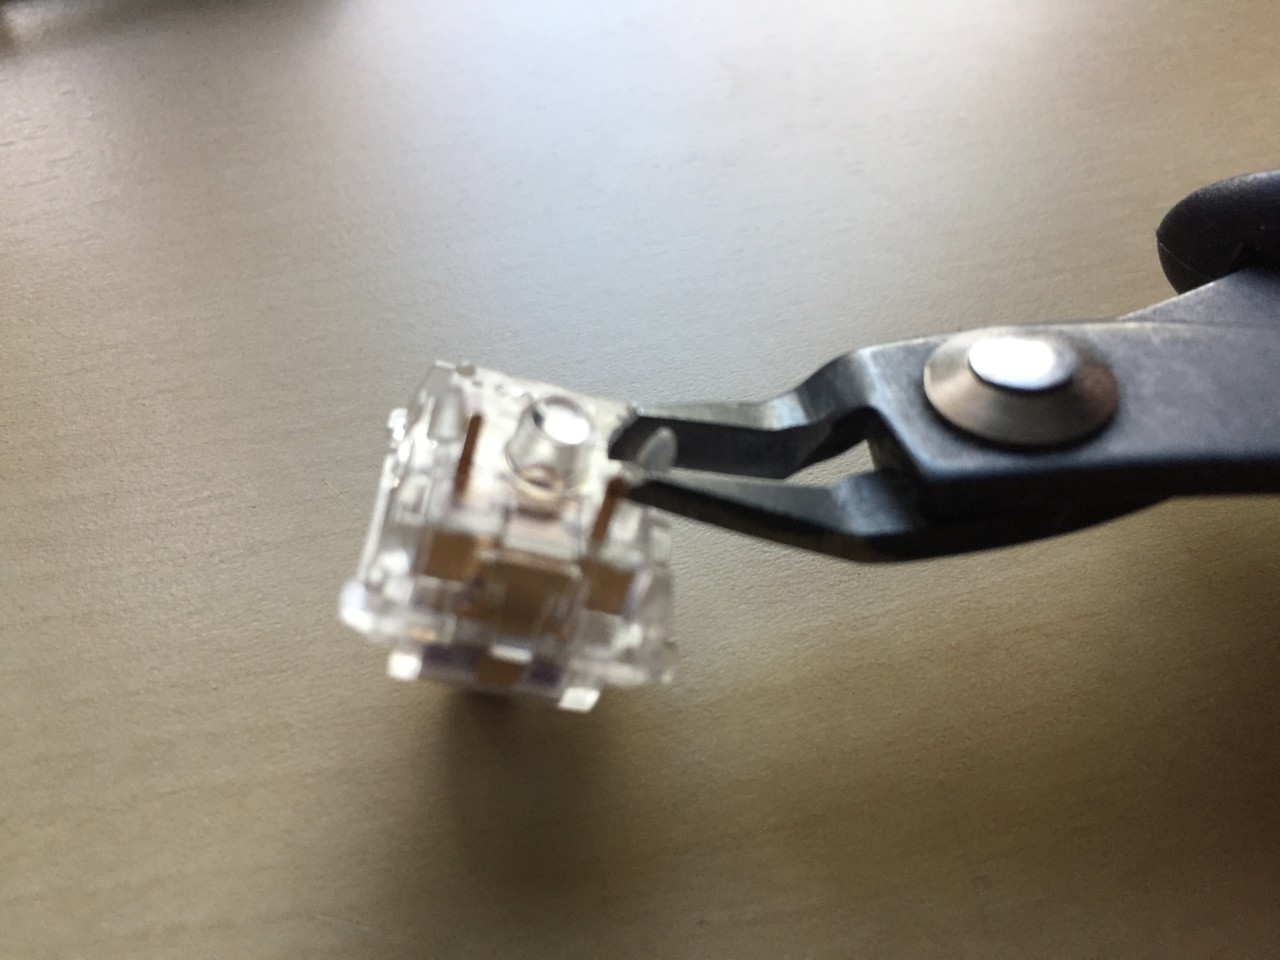
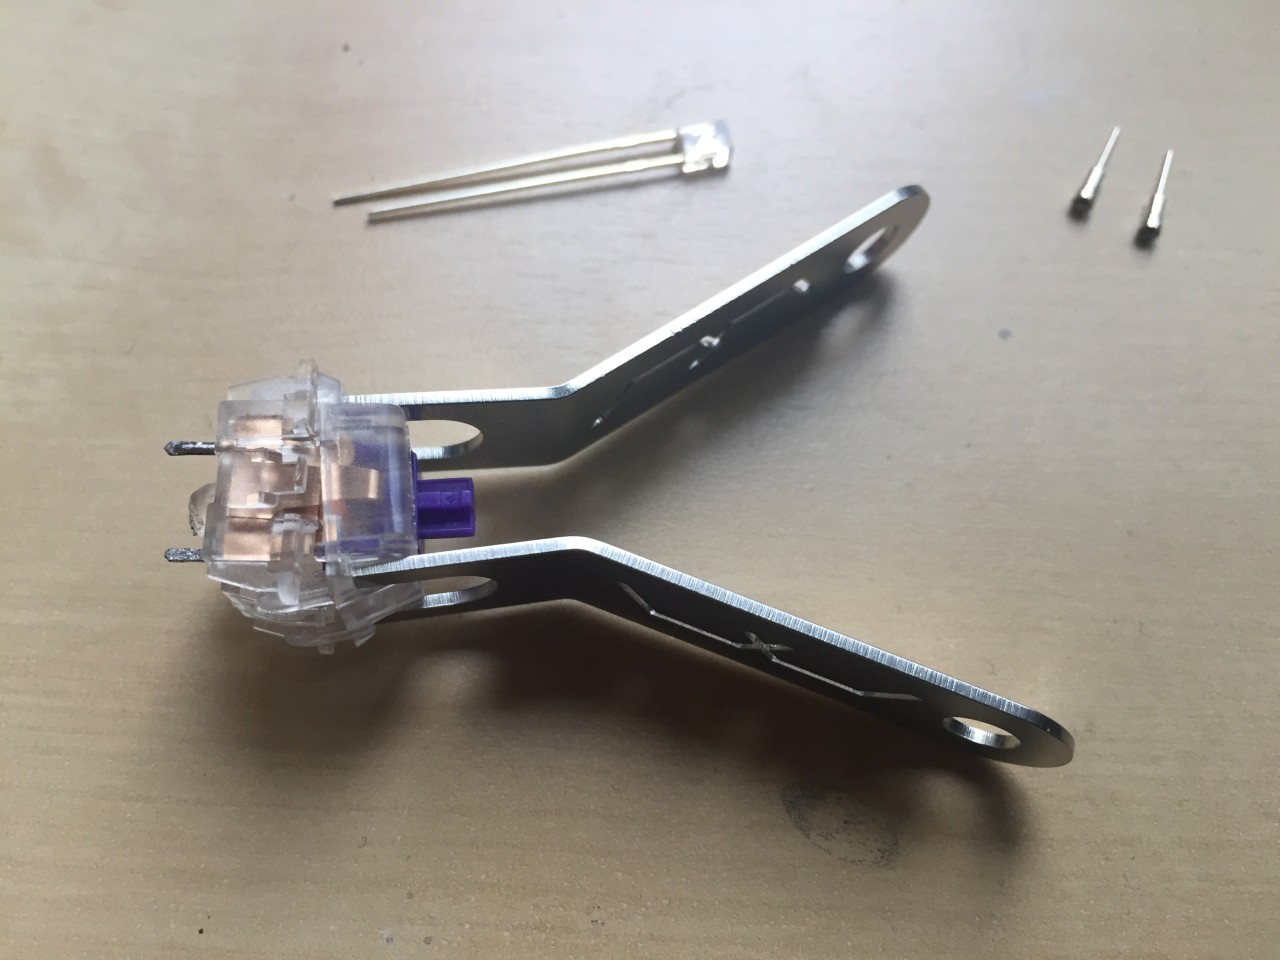
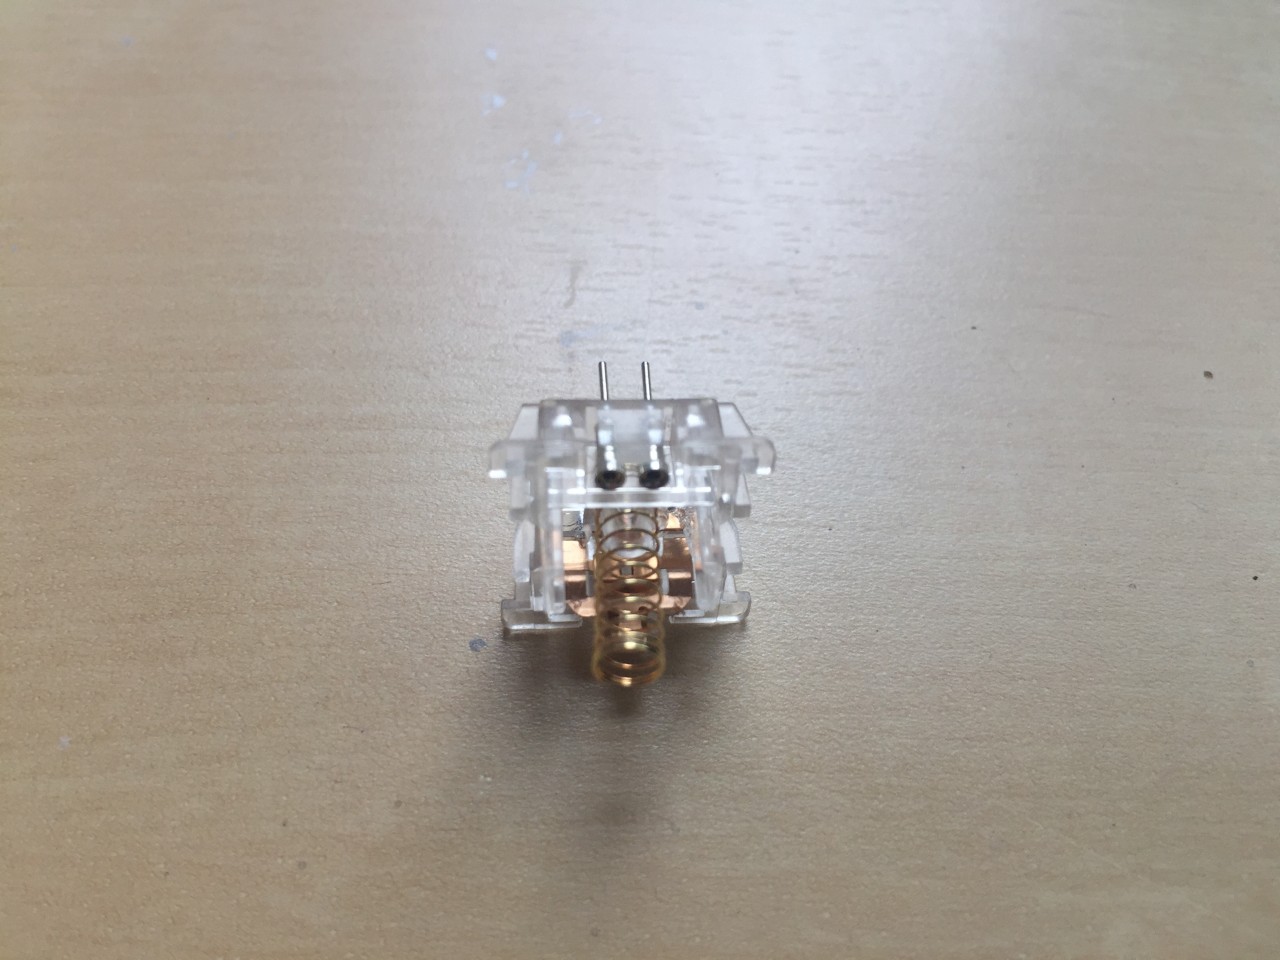
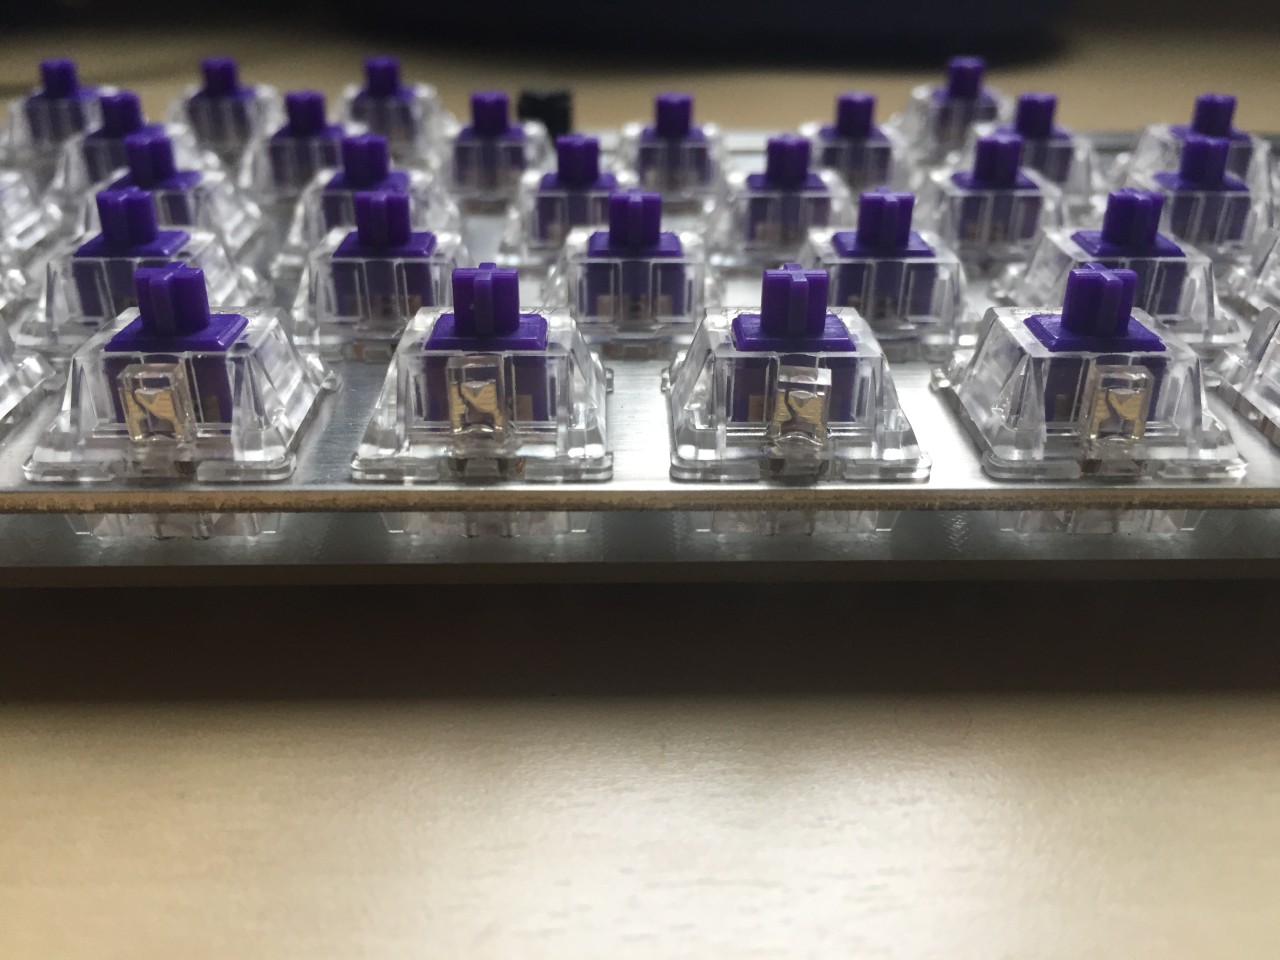
Cut the tabs
With brand new switches, you may need to cut the plastic tabs off of the bottom of the switch. These tabs are here for extra stability when mounting on PCBs, but are not required when plate mounting, and are actually necessary to remove if your PCB supports hotswap switches.
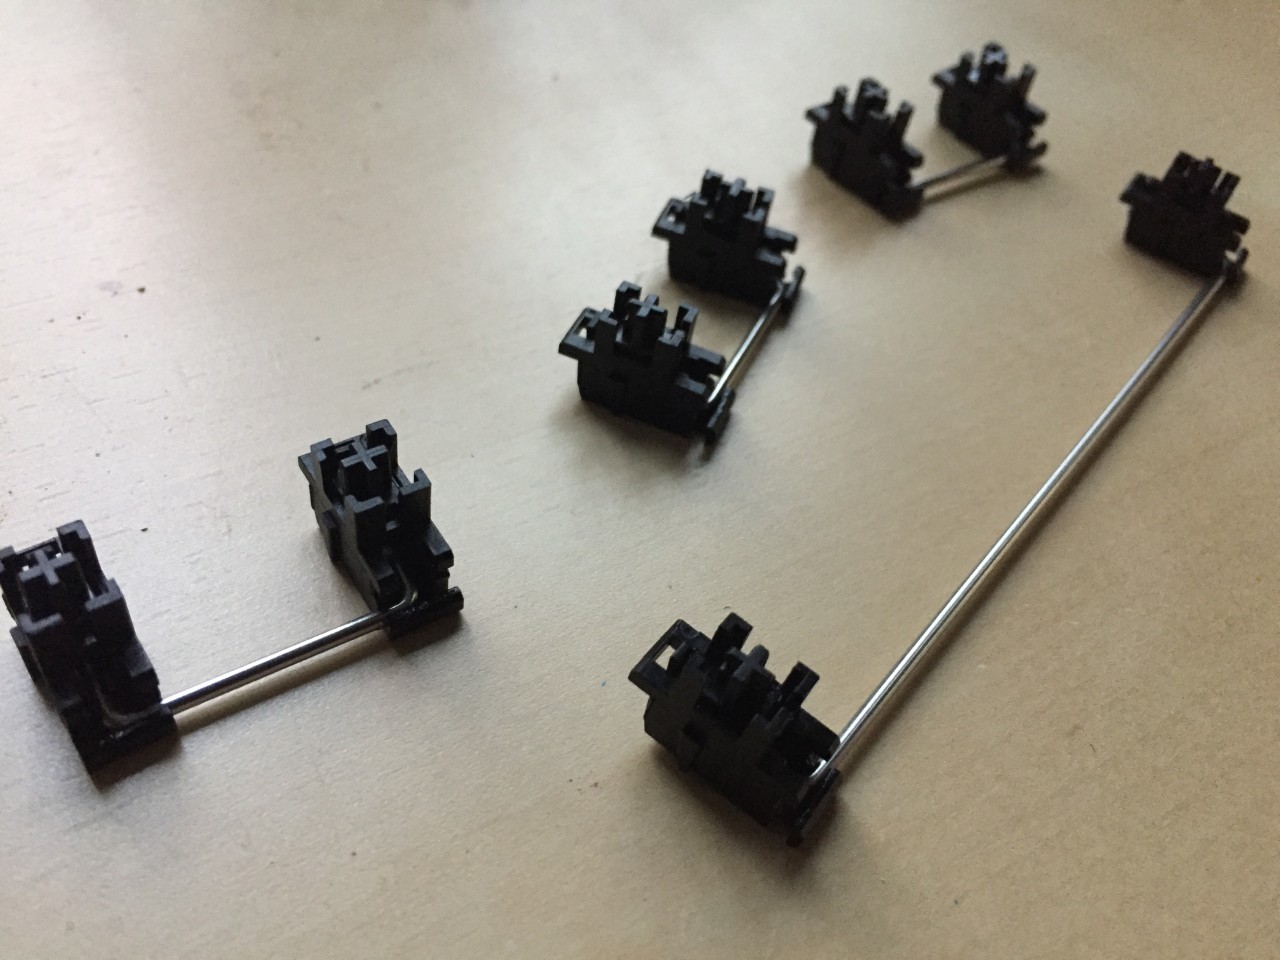
Lube and mod the stabs (optional)
If you are lubing your stabs, you need to do so before assembly. In this build, I used superlube dielectric grease. I honestly probably applied too little within the stabilizer housing; you want enough grease to surround the metal bar within the plastic housing. There are additional stabilizer mods such as clipping the stabilizers, and the “band-aid mod” to reduce noise of the stabilizers.
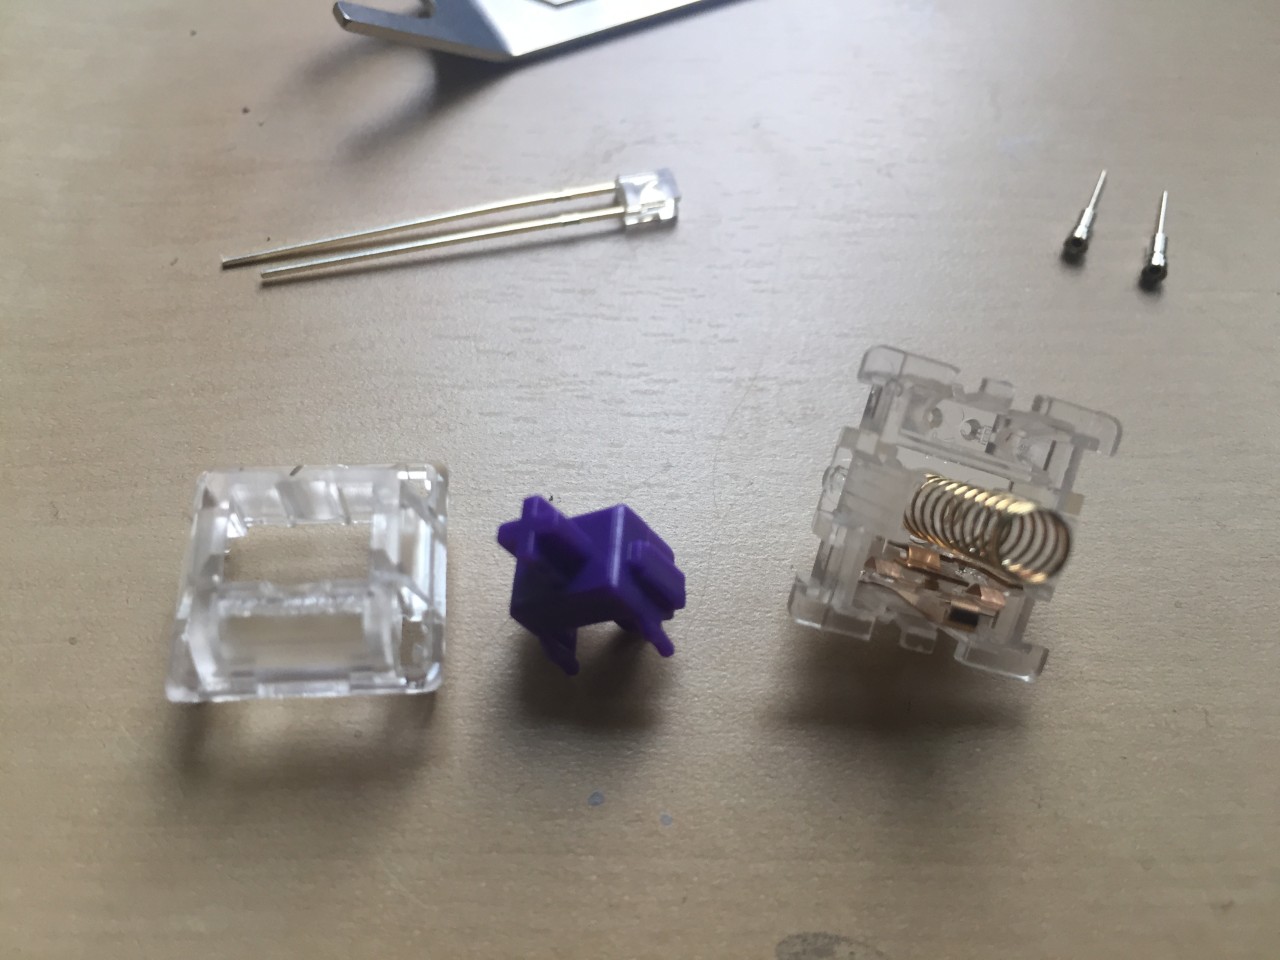
Lube and mod the switches (optional)
If you’re going to mod the switches, you should do so before assembly; otherwise you may not be able to open the switches when they’re mounted to the keyboard. This is fairly advanced and not at all required. I performed a removable LED mod on my switches, but made the mistake of doing it after the switches were mounted (more on this later).
Assembly
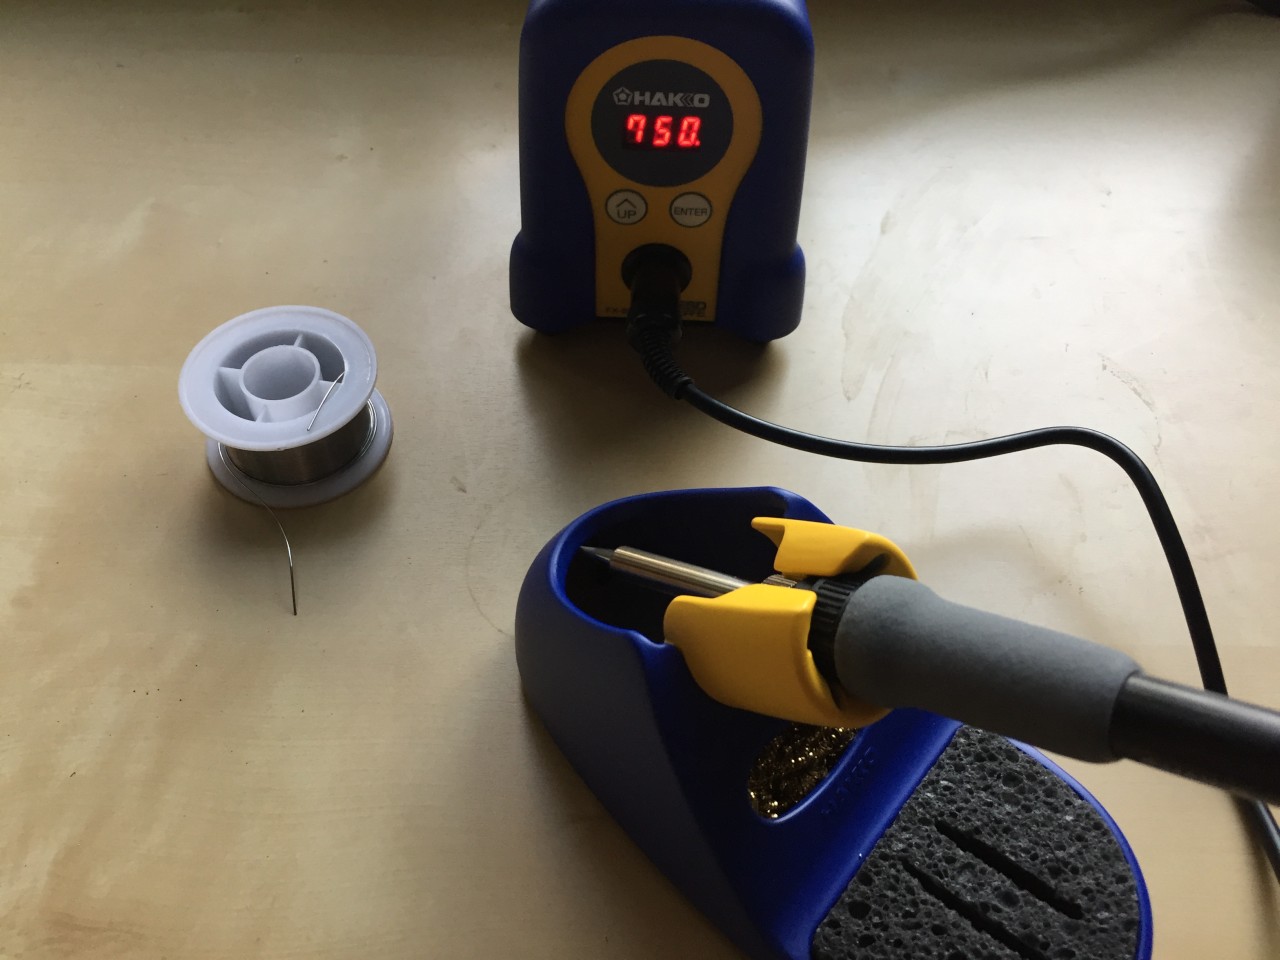
WARNING: DO NOT SOLDER until you’ve verified that all pieces have been attached in the correct order and your stabilizers are in the correct place. Soldering should be nearly the final step. If the stabs are not in the right place before you solder the switches on, the board will be effectively ruined because it will be almost impossible to desolder and remove the switches.
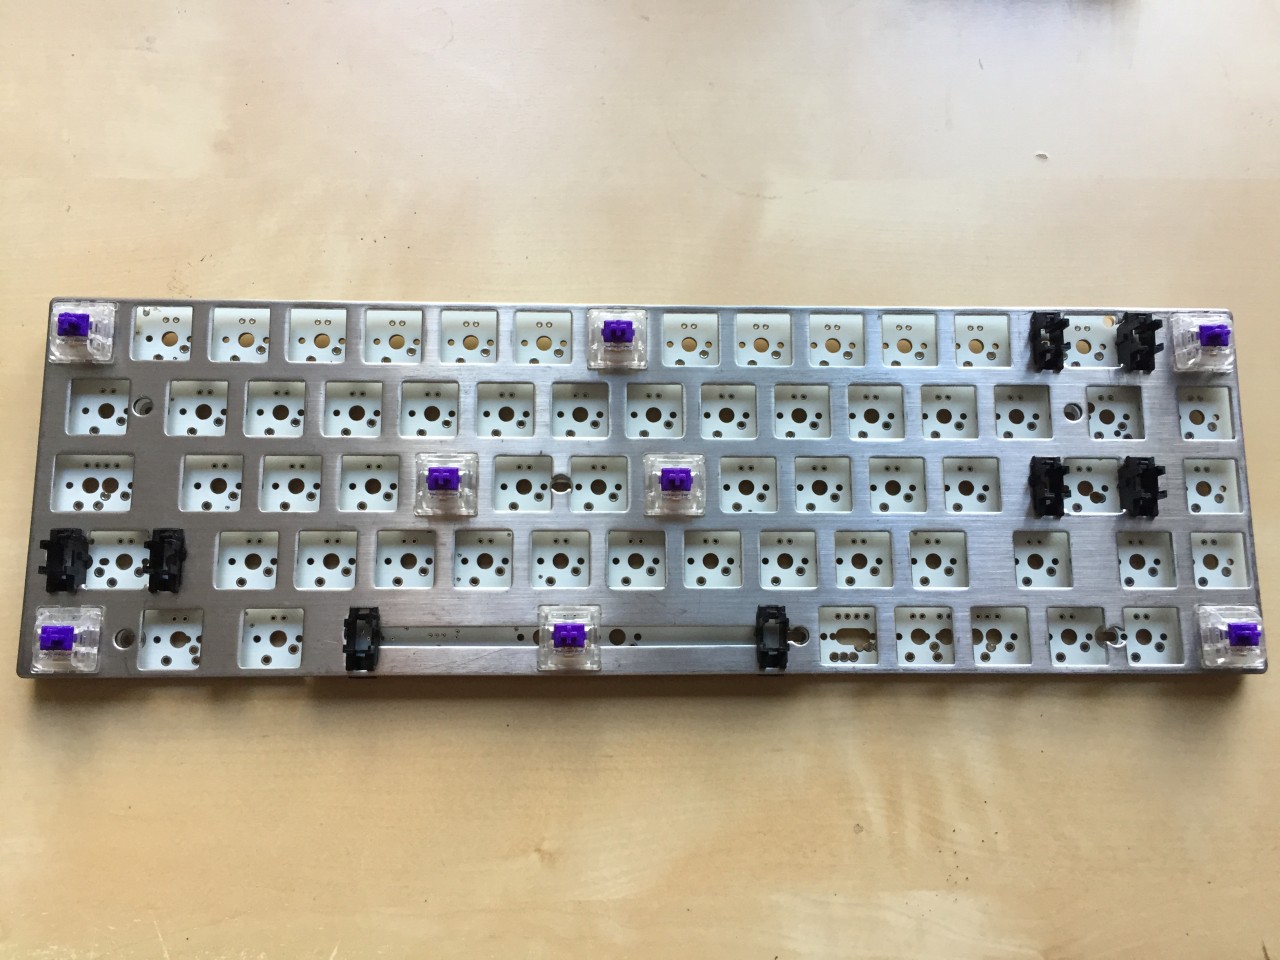
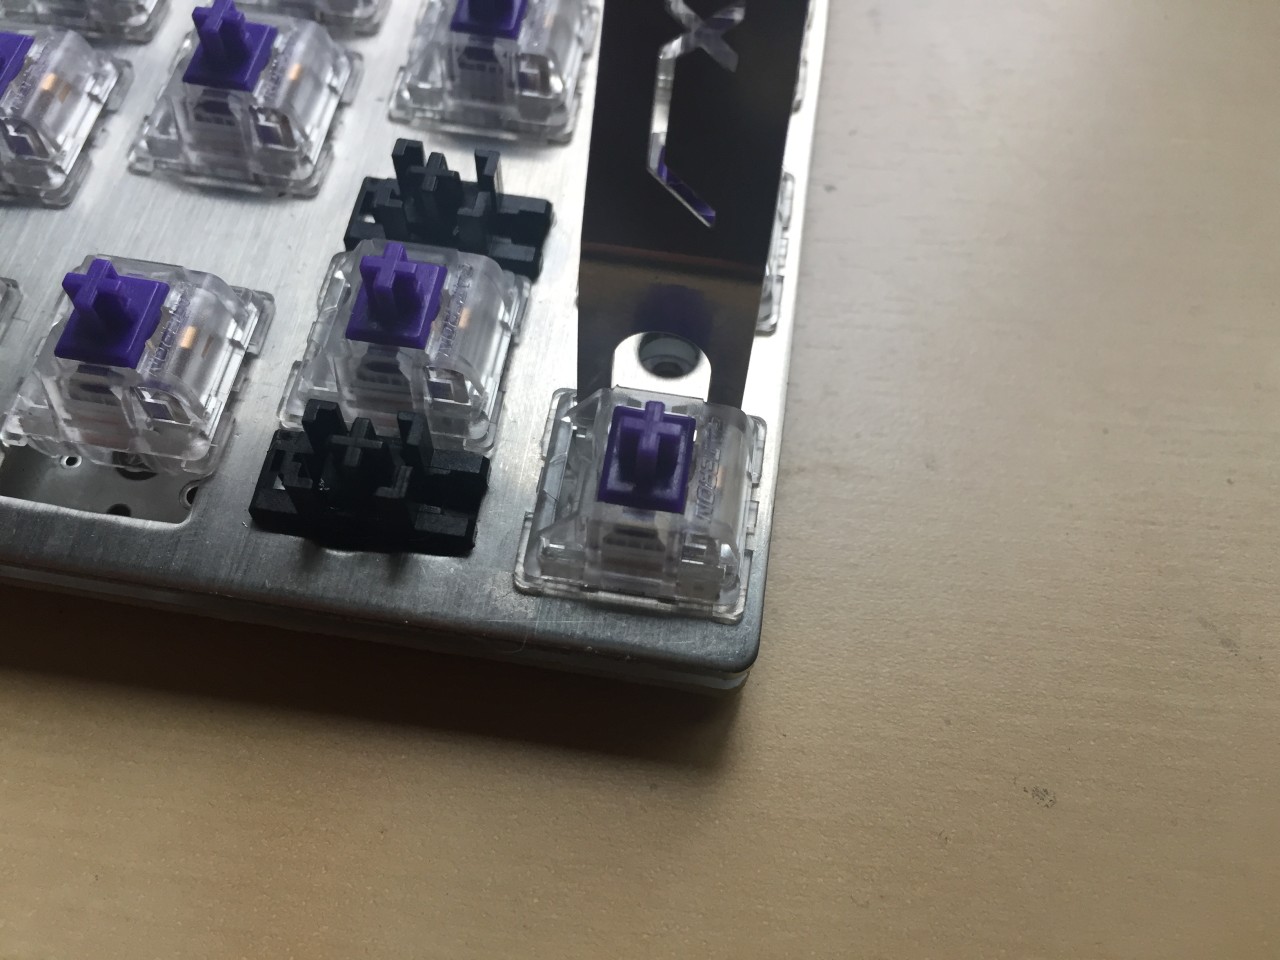
- Insert your stabs first (some mount on the plate and others mount on the PCB)
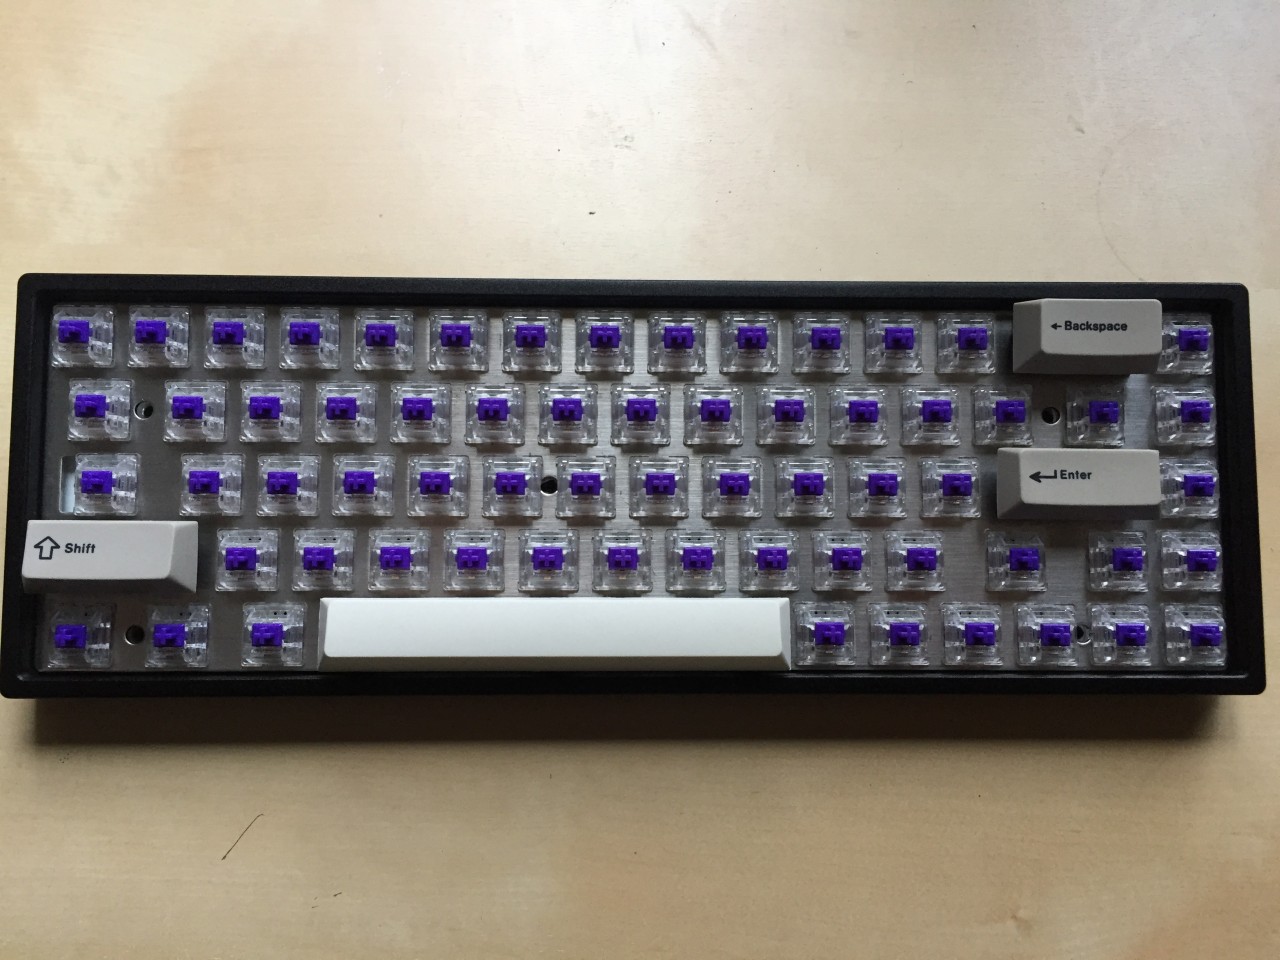
- Insert a few switches into the plate including the keys that require stabilizers so you can mount the plate against the PCB
- Test fit the keycaps on the stabilizers to make sure they’re installed in the right location
- Insert the remaining switches and make sure they clip into the plate and correctly go through the holes in the PCB
- Test fit the keyboard inside of the case to make sure everything is lining up correctly
- Remove the keyboard from the case and solder the switches onto the PCB
- Connect to the computer and test each key to verify it’s working
- Mount inside the case - there are typically screw holes on the PCB with holes for the screwdriver through the plate, but these are hidden under the keycaps
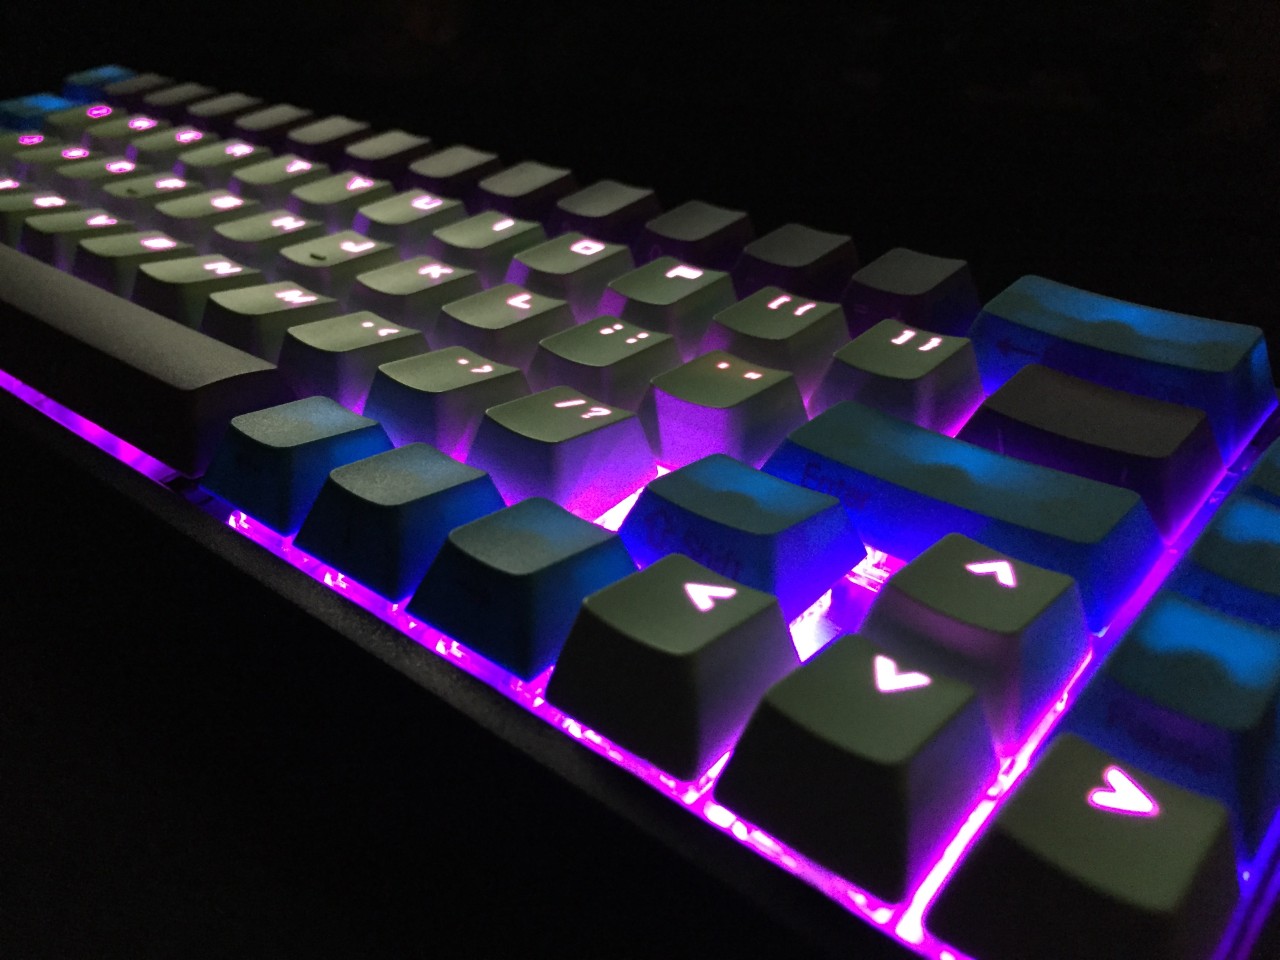
- Attach all keycaps and enjoy!
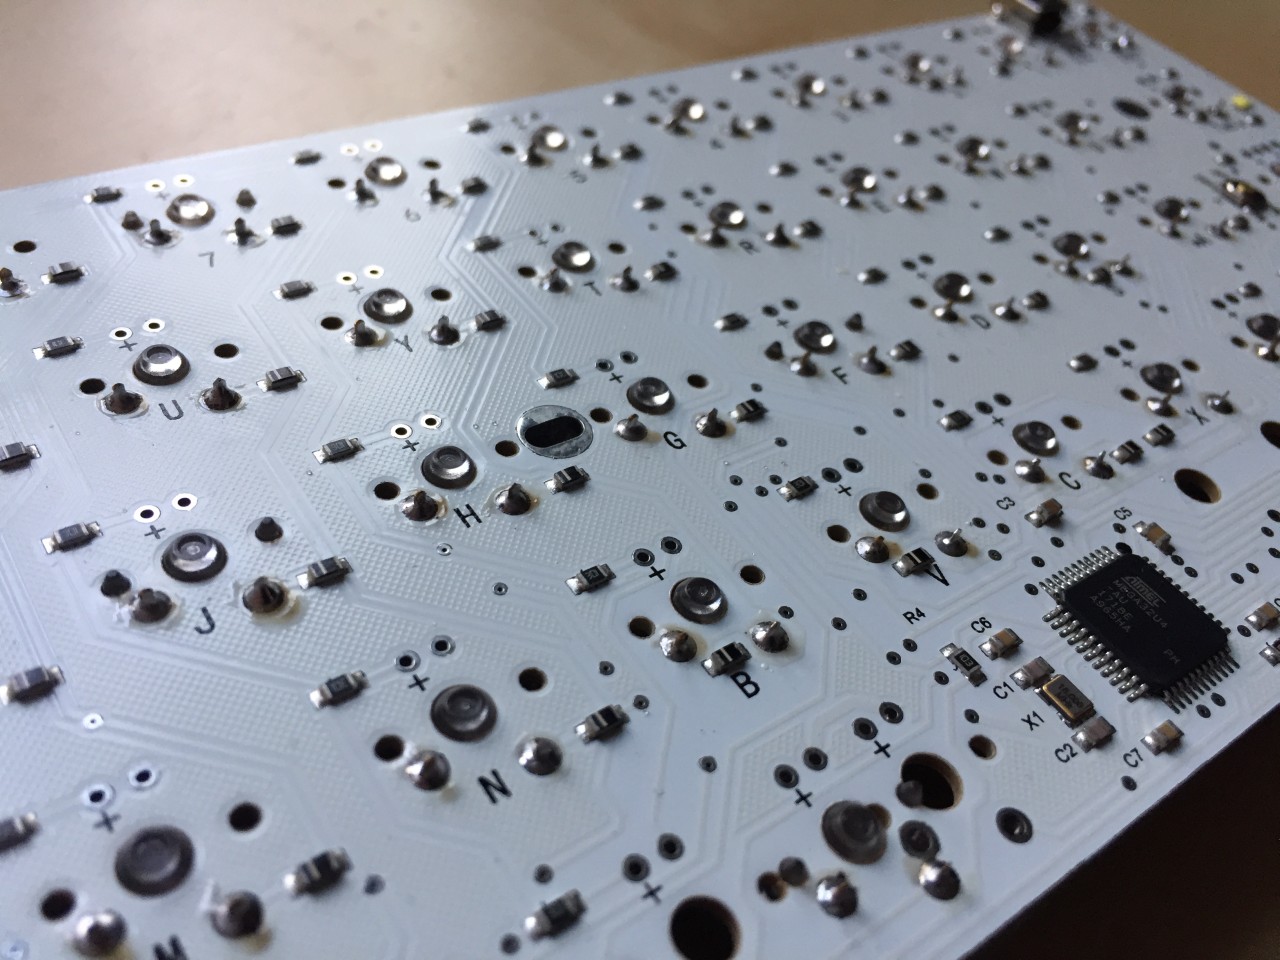
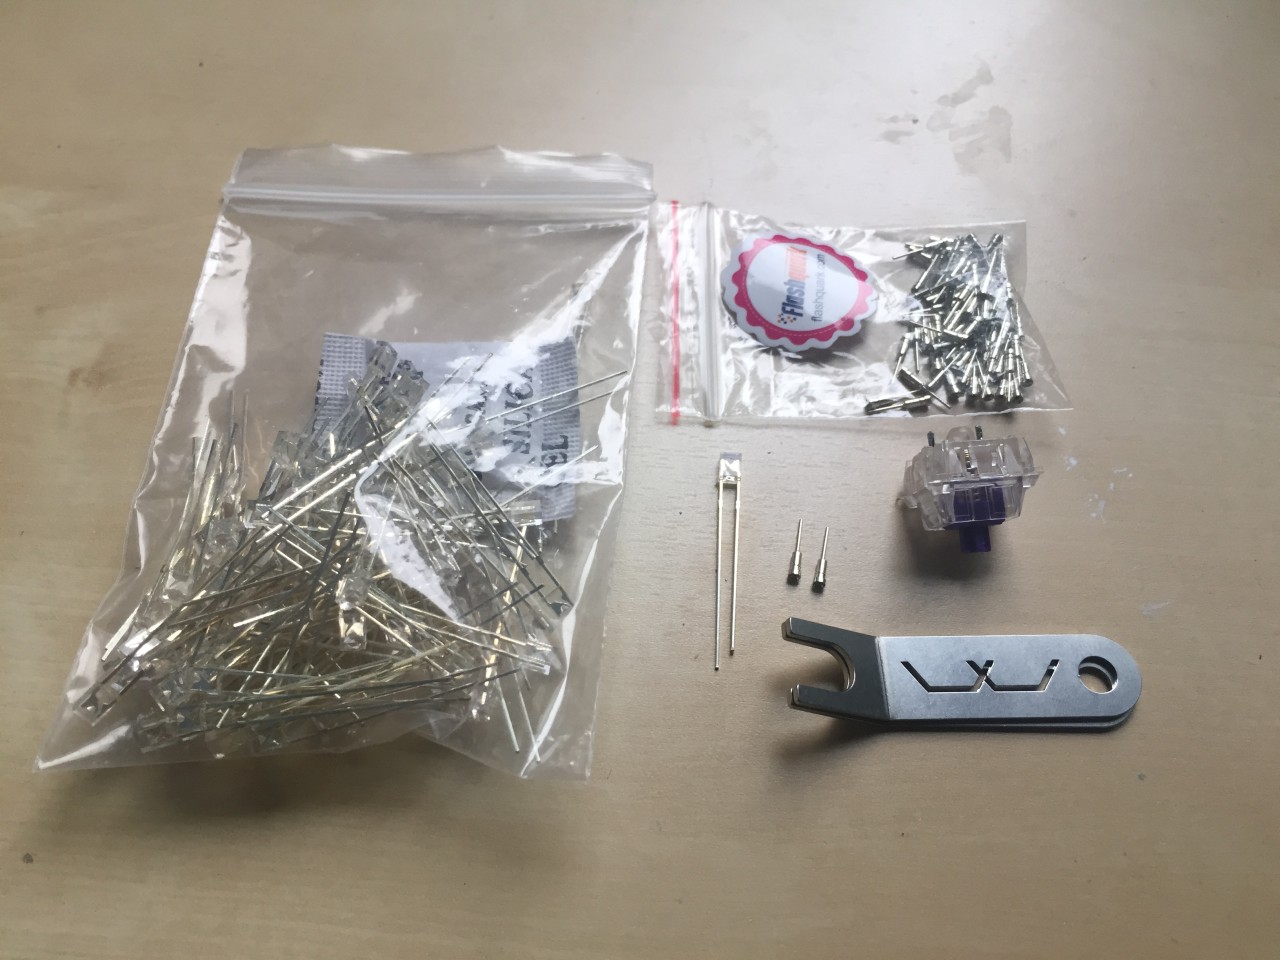
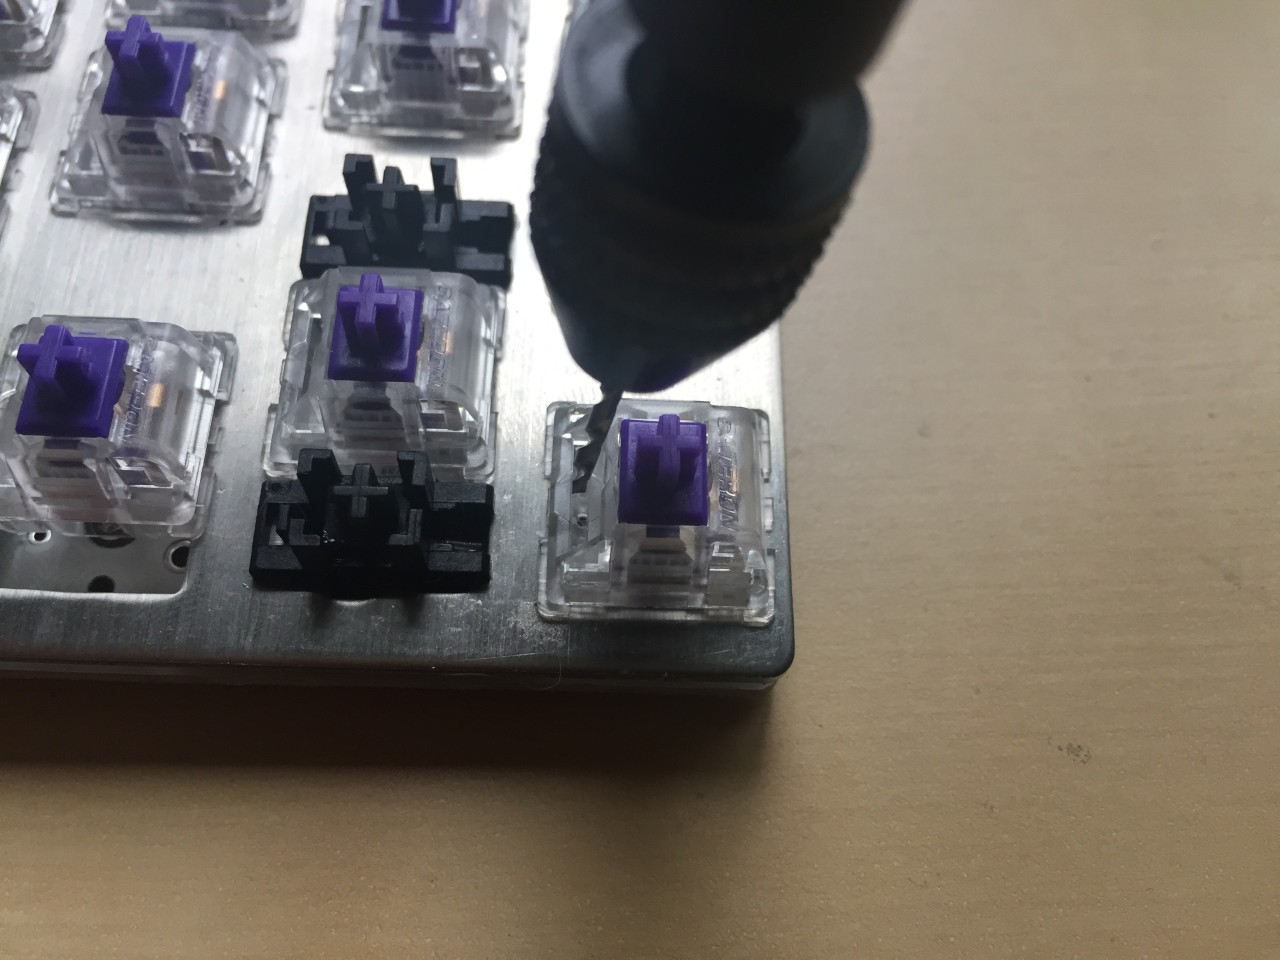
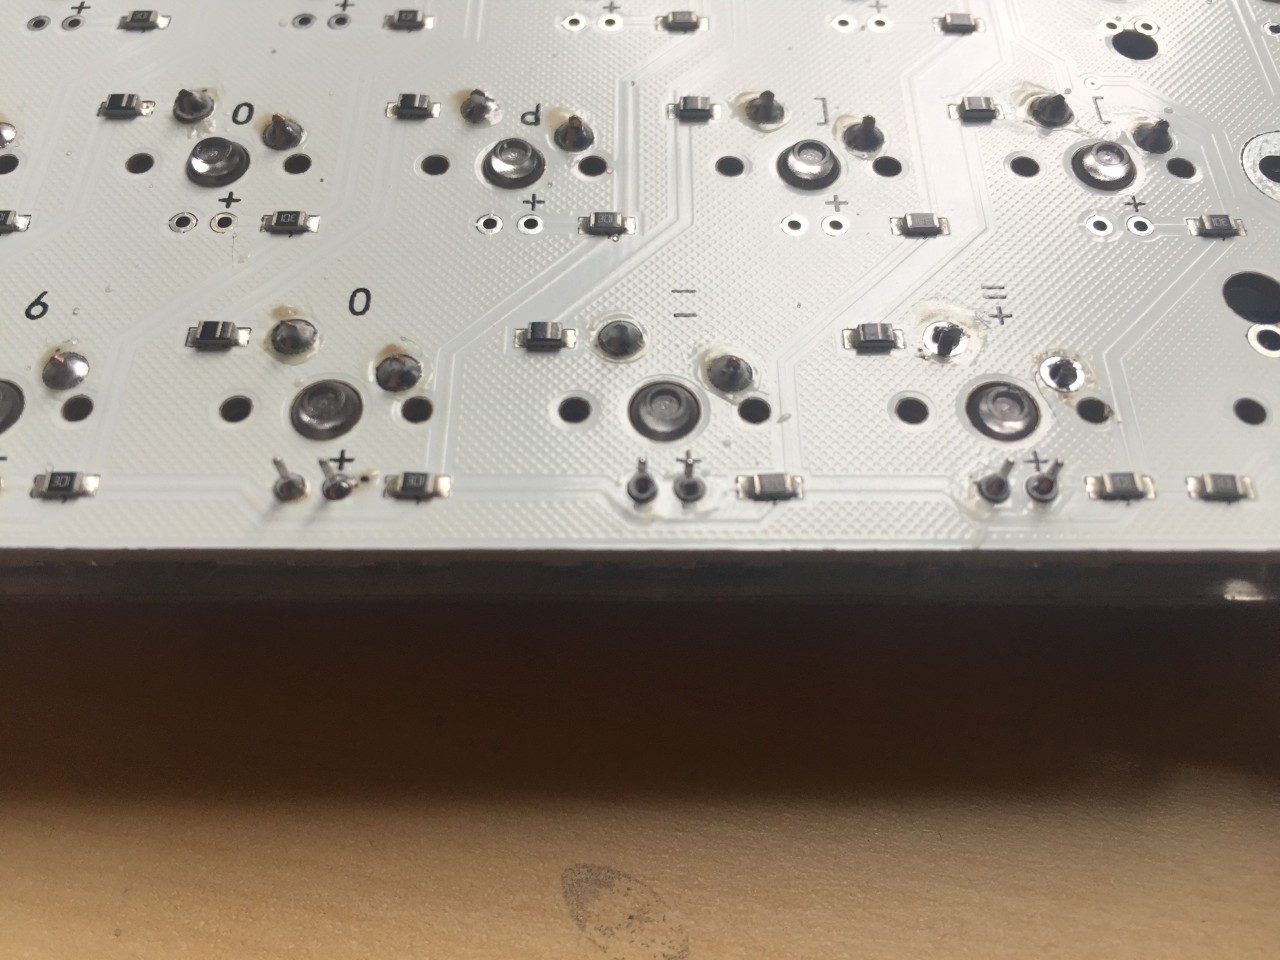
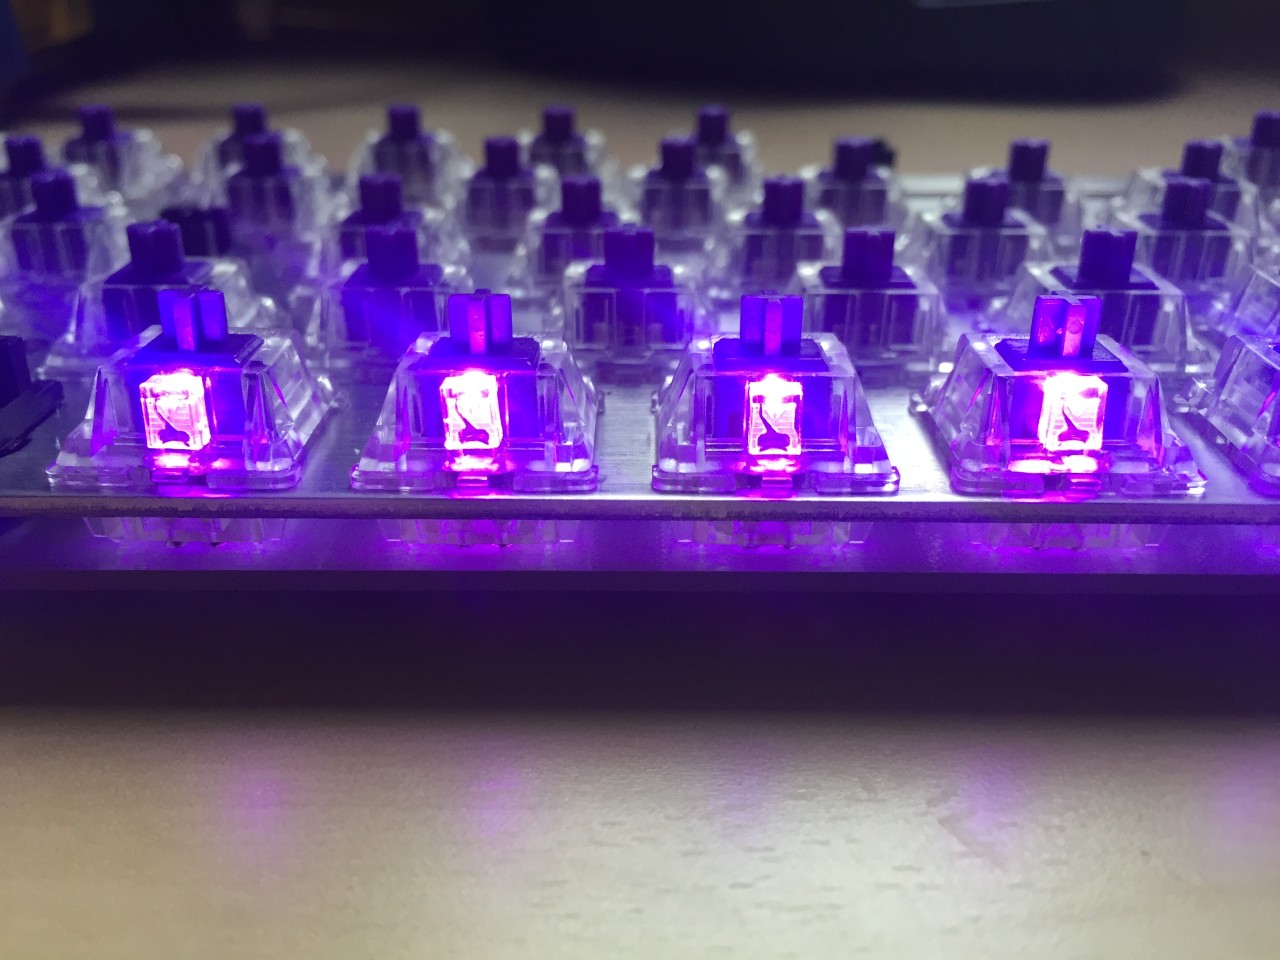
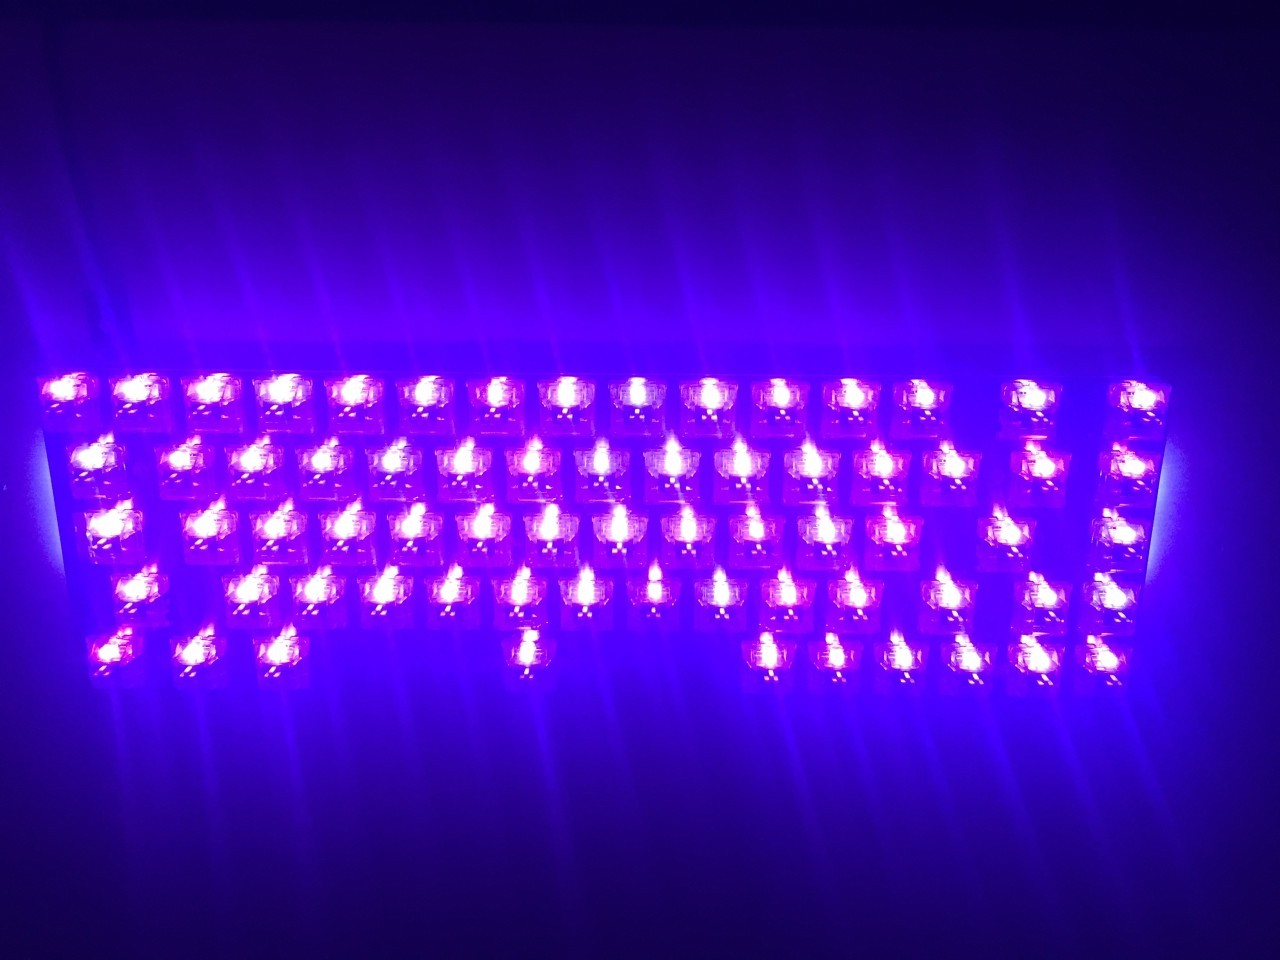
Removable LED mod (optional)
The TADA68 supports LEDs for each key. Normally you would purchase a batch of LEDs in your favorite color (an ideal size is 2x3x4mm LEDs), solder and trim these additional pins on the back of the PCB. This can be done entirely after assembling the board because the LEDs fit in the switch housing, so all you need to do is take off the keycaps, unscrew the PCB from the case, and get to soldering. In my case I wanted the option to change colors later, so I chose to install SIP sockets for hot-swappable LEDs. Ideally I would have performed this mod on all the switches before I put them in the keyboard, but I made the mistake of soldering all the switches into the board before I attempted this mod, and I was unable to open the switches because the plate prevented me from prying open the switch cap. So to make enough space in the plastic housing of the switch to insert the SIP sockets, I had to carefully drill tiny holes in the top of the switches and push the SIP sockets into place. I would not recommend this, but with a stable hand and some patience I was able to get them all working.
Programming the keyboard (optional)
The TADA68 ships with a fully functioning keyboard firmware out of the box (as will nearly all PCBs). However if you would like to change the keyboard layout, or add other function layers, or simply replace key behavior, you can flash the fantastic open source QMK firmware. This is very easy to do, but please carefully read the Flashing Instructions to avoid bricking your keyboard. The easiest method of configuring and compiling a new firmware is using the QMK Configurator.
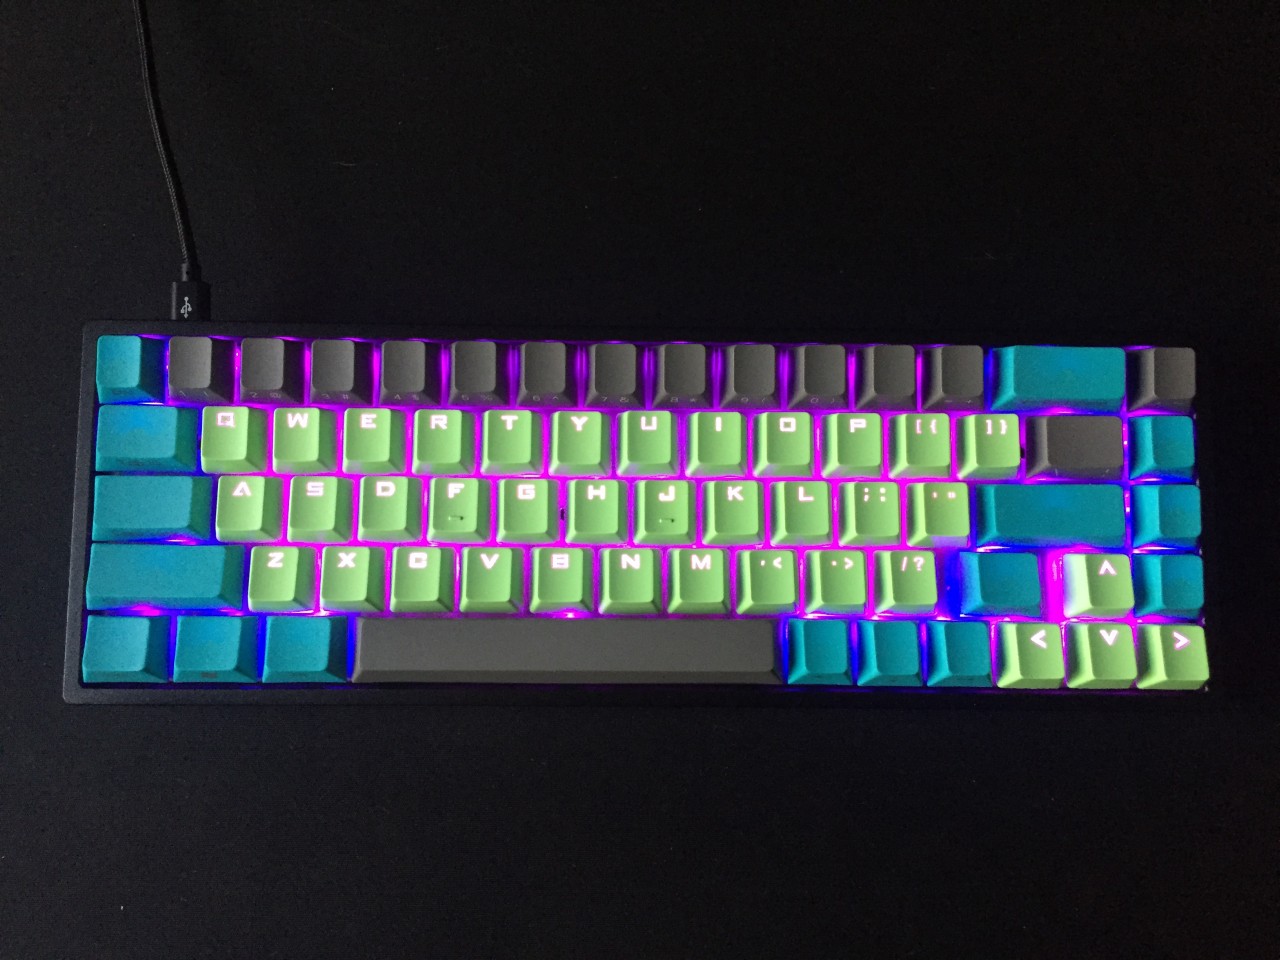
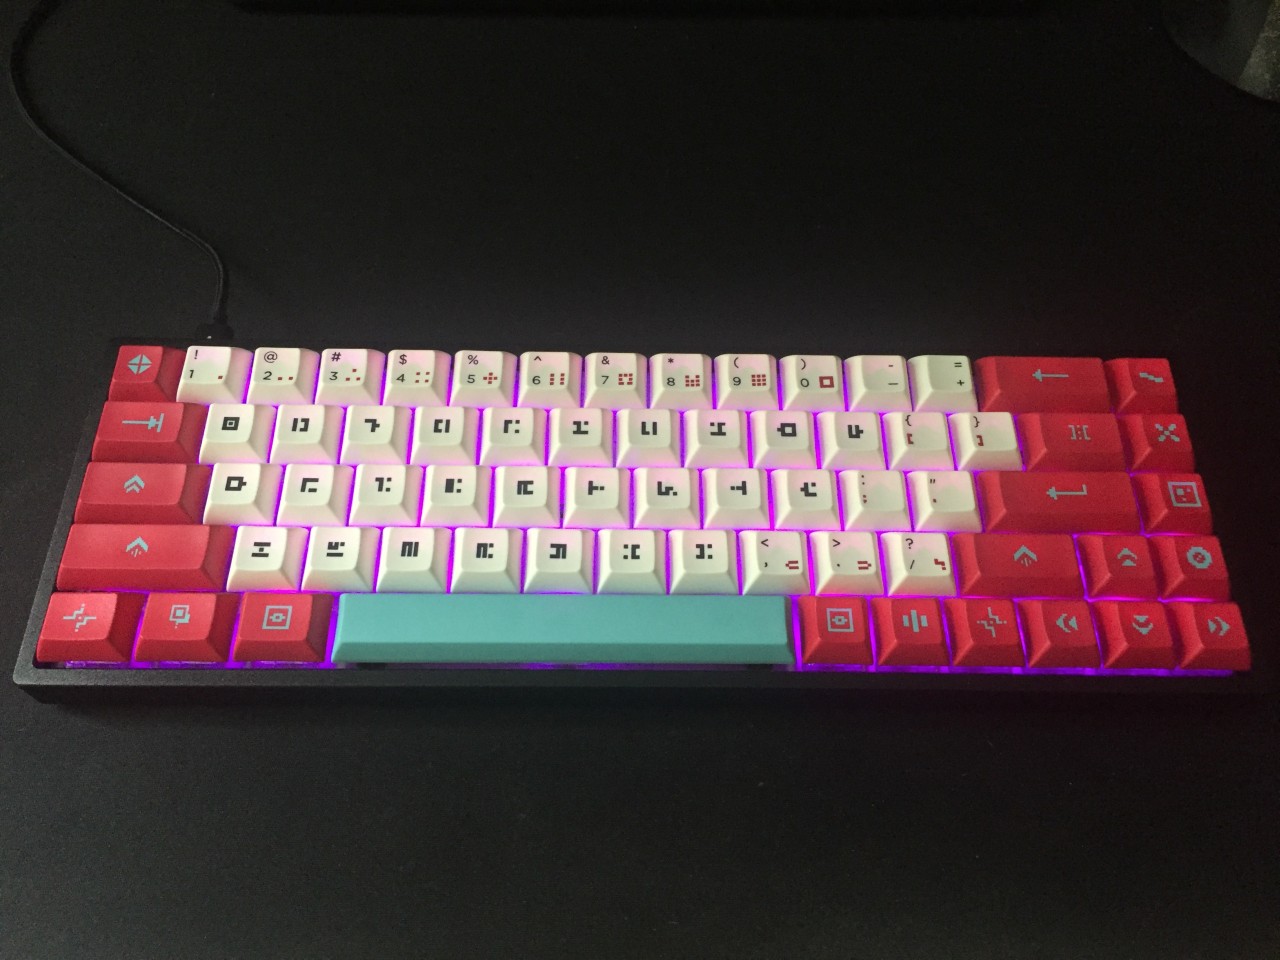
Selecting keycaps
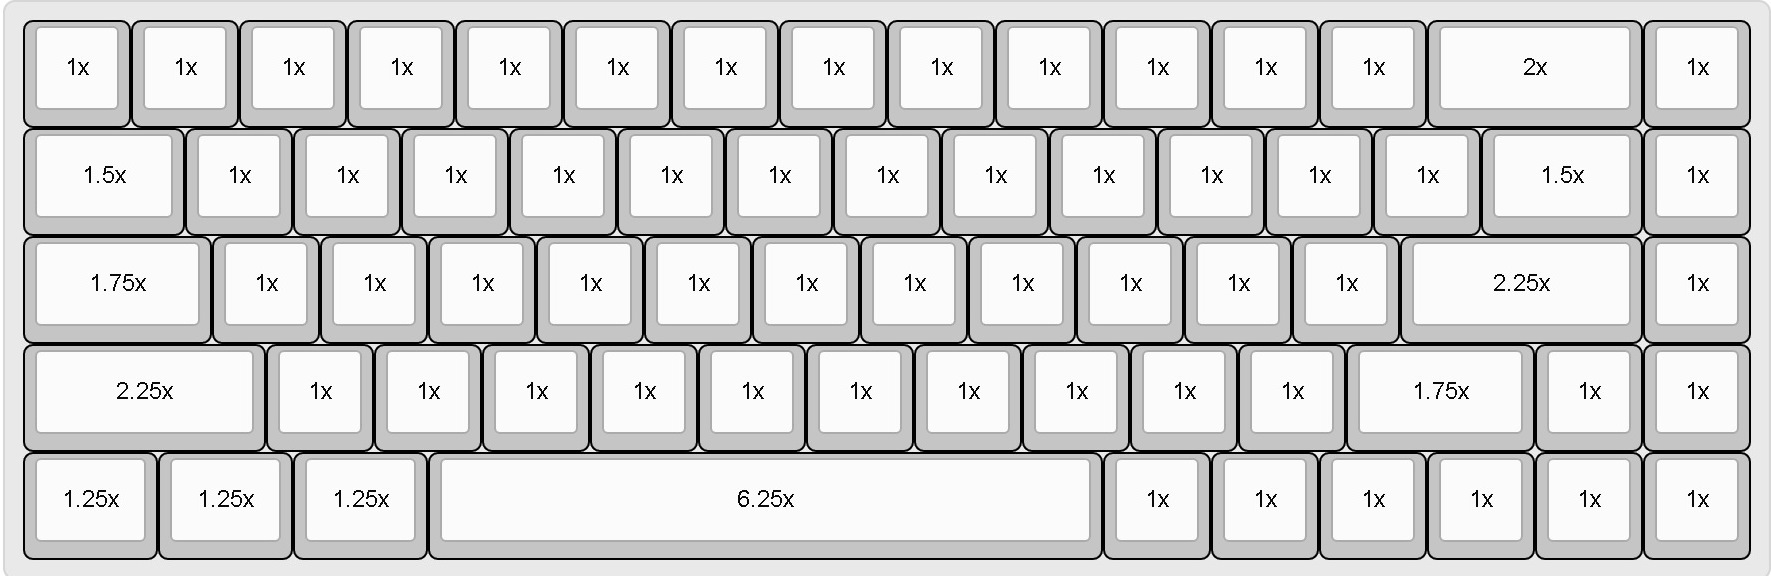
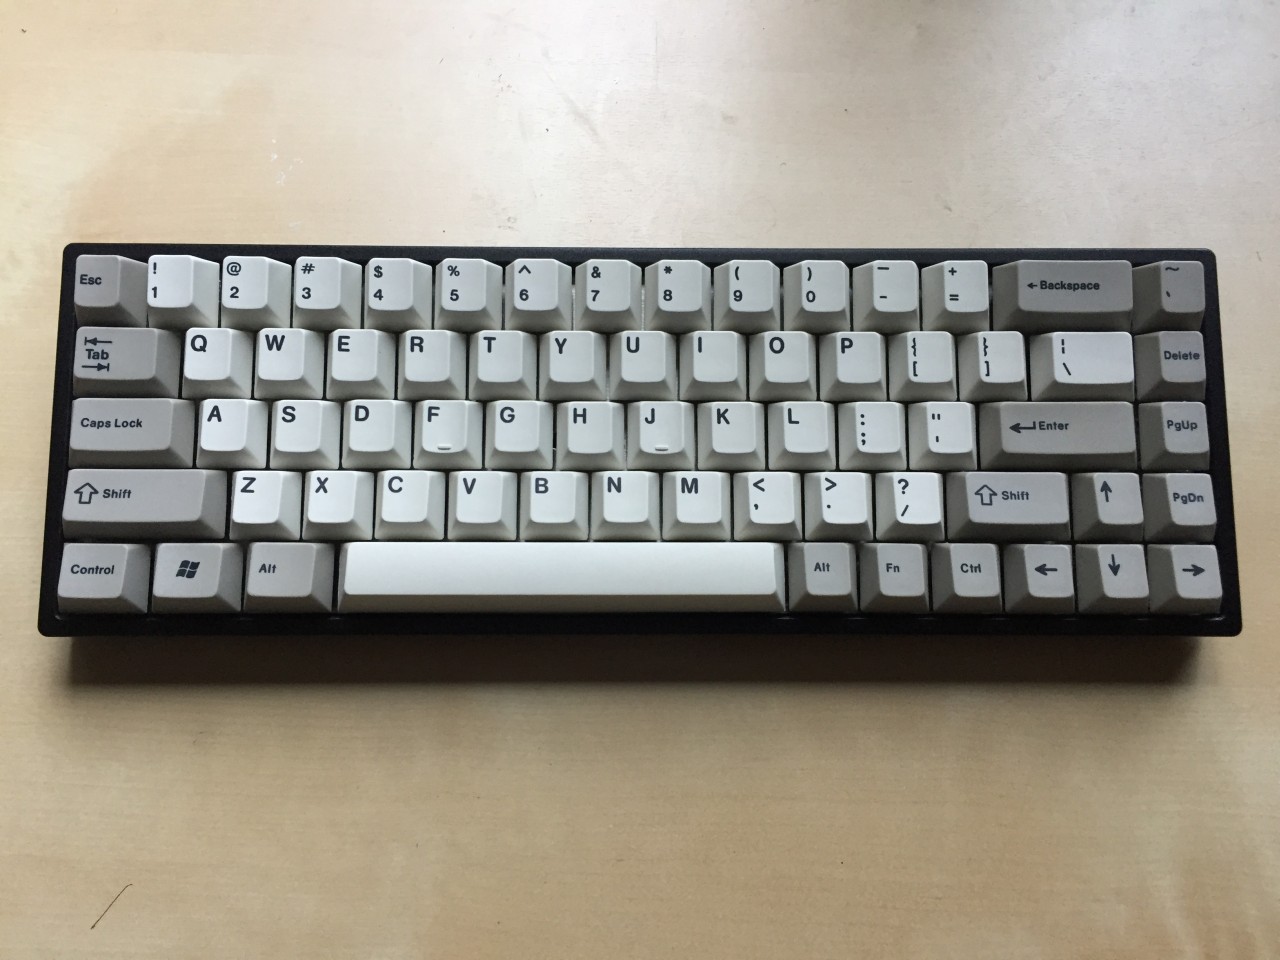
The TADA68 comes with keycaps that fit the keyboard, but there is a rich and fun market full of custom keycaps! There are a few non-standard keys on 65% keyboards, so you want to be sure the keycap set you’d like to purchase has the necessary keys. Thankfully the excellent community on r/MechanicalKeyboards have created easy diagrams like the one below. Most designer keycap sets treat these as standard keycaps since they are “common” among the custom keyboard form factors.
In my case I use the ANSI (American) keyboard layout. The trickiest key to find is usually the right shift key, which is normally 2.75u, but on the TADA68 and most other 65% and 75% keyboards it is 1.75u. It is shorter than a standard keyboard to make room for the arrow keys. Also note the bottom row (R1) is non-standard for many keyboards, but most keycap sets include the correct modifier keys and space bars to complete this row. The TADA68 and most other 65% and 75% keyboards use 3 x 1.25u keys for the left hand modifiers (ctrl, win, and alt), 3 x 1.0u keys for the right hand modifiers (ctrl, fn, and alt), and a 6.25u space bar.