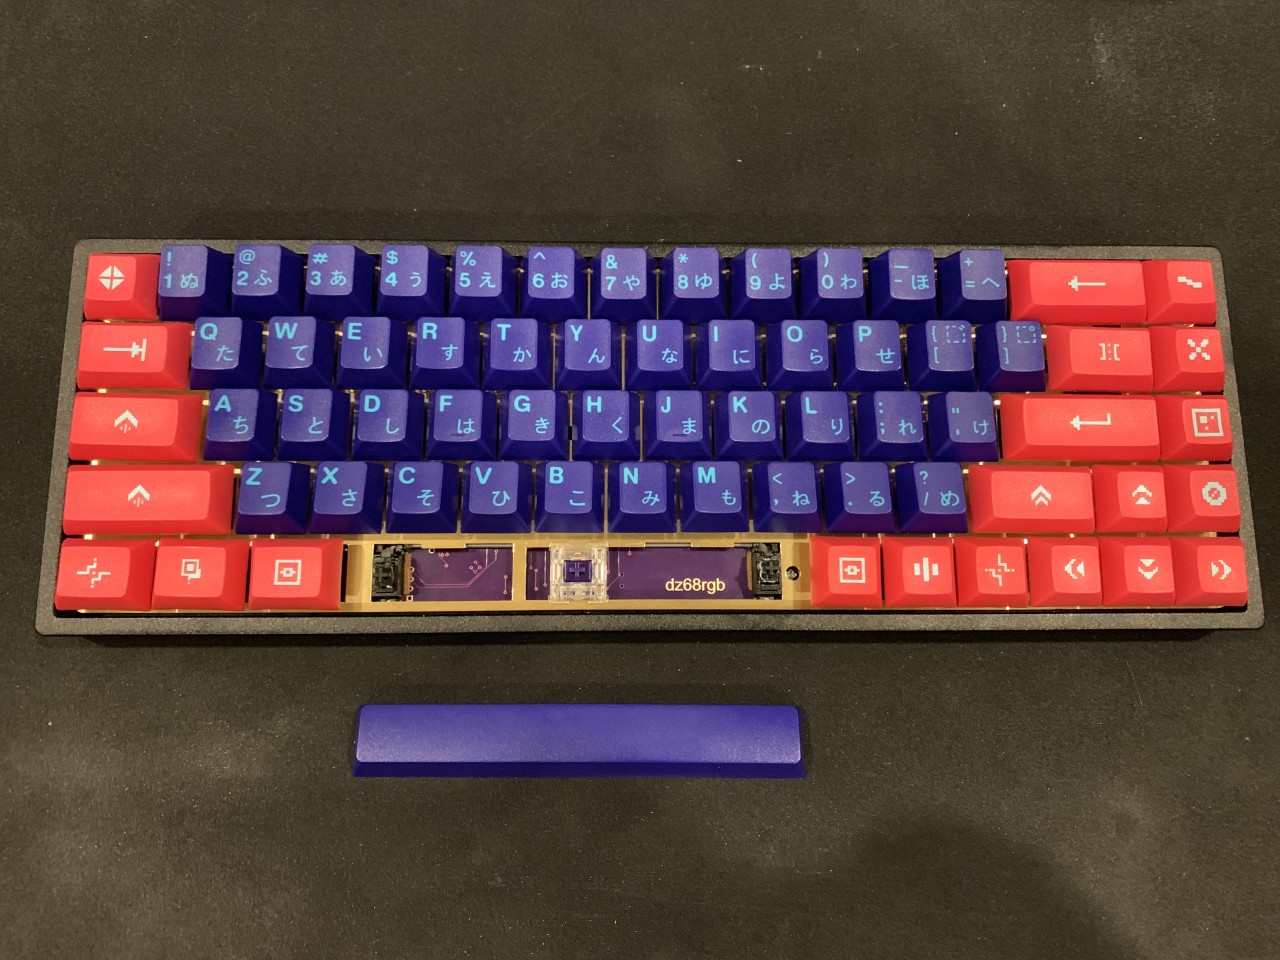
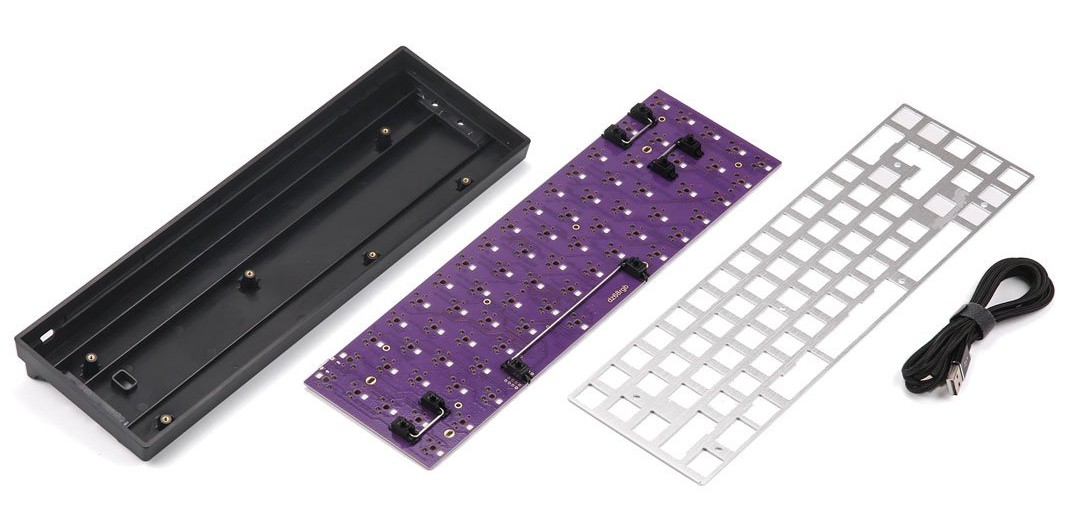
My previous TADA68 build mysteriously bit the dust, so I decided to build a new keyboard and reuse my TADA68 aluminum case. Thankfully I found a fantastic (nearly) drop-in replacement PCB: the DZ65RGB. It is another 65% keyboard like the TADA68, and has my most desired improvements over the TADA68: individually addressable RGB LEDs, USB-C, hot-swappable switches, and a lovely purple and gold color scheme!
Components
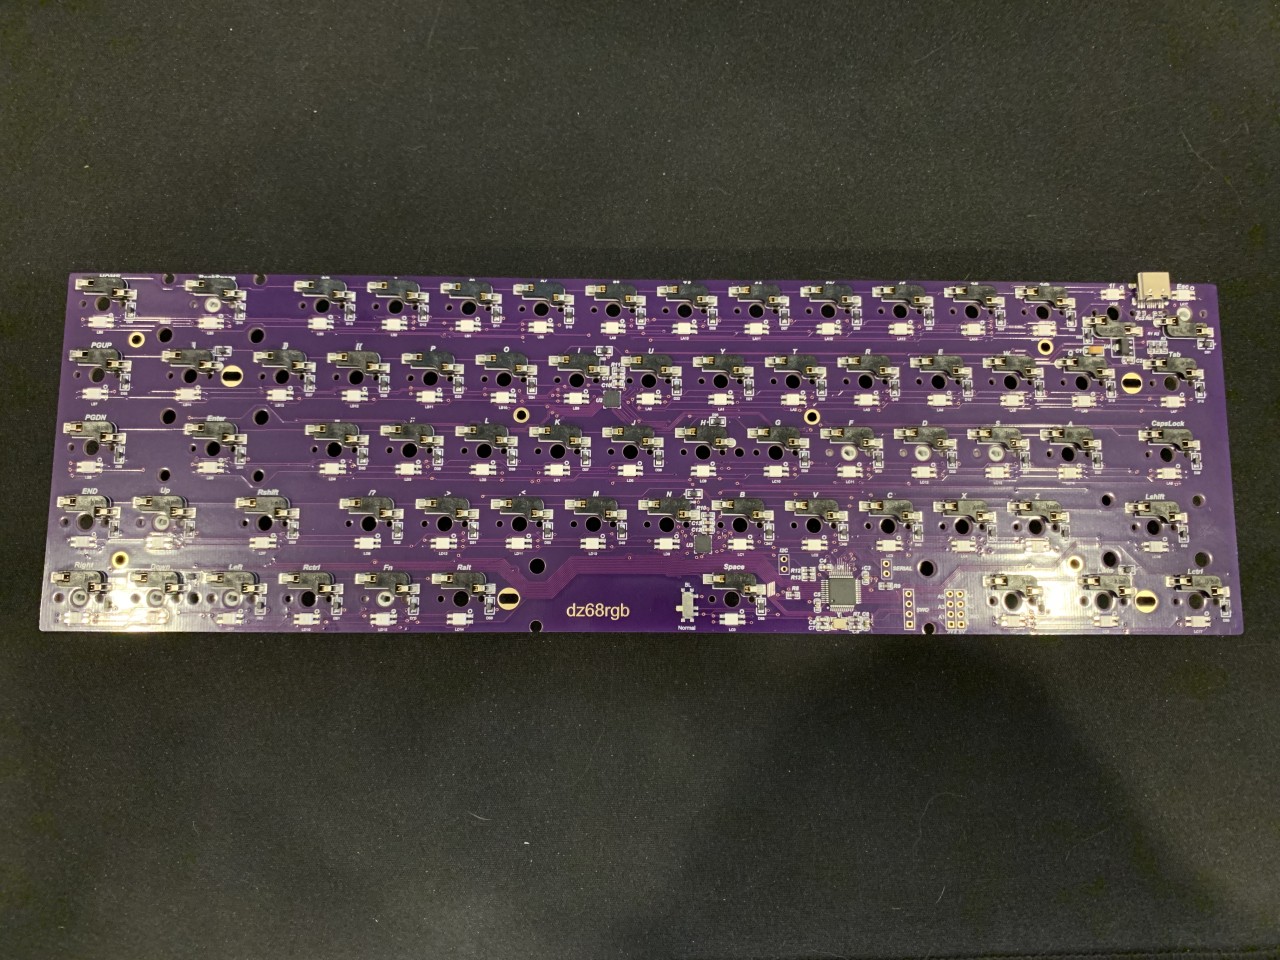
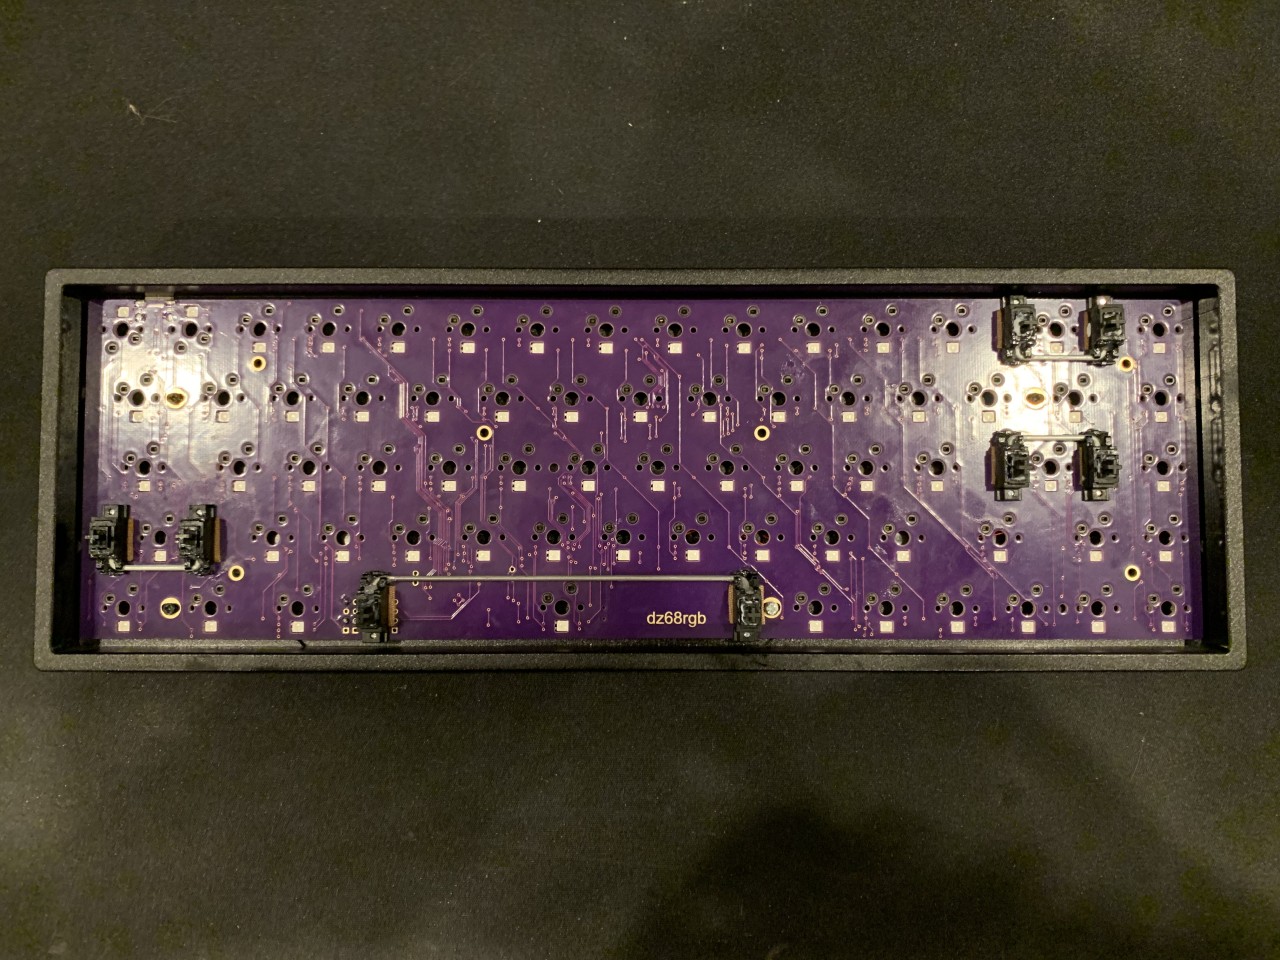
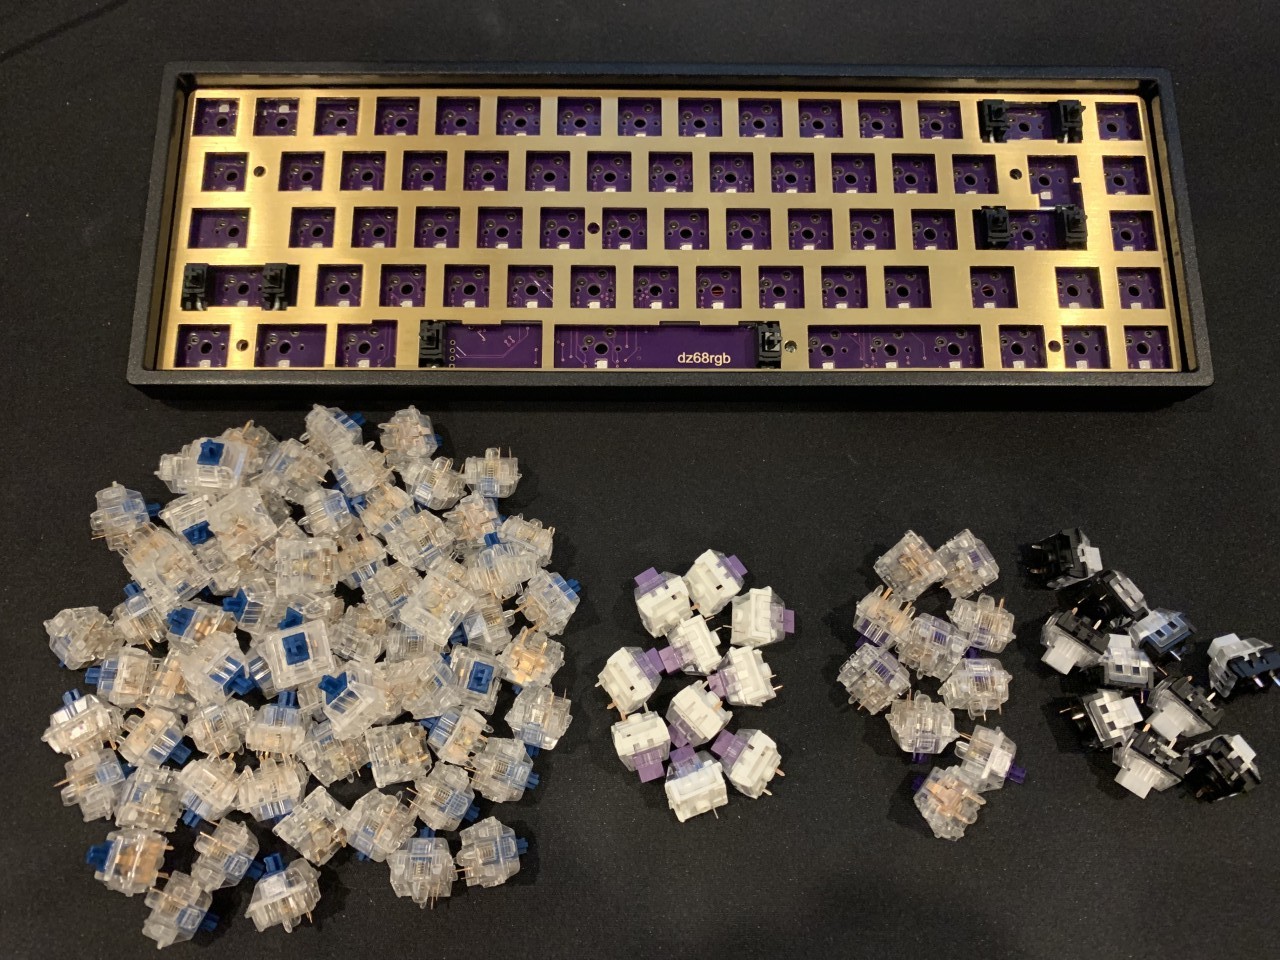
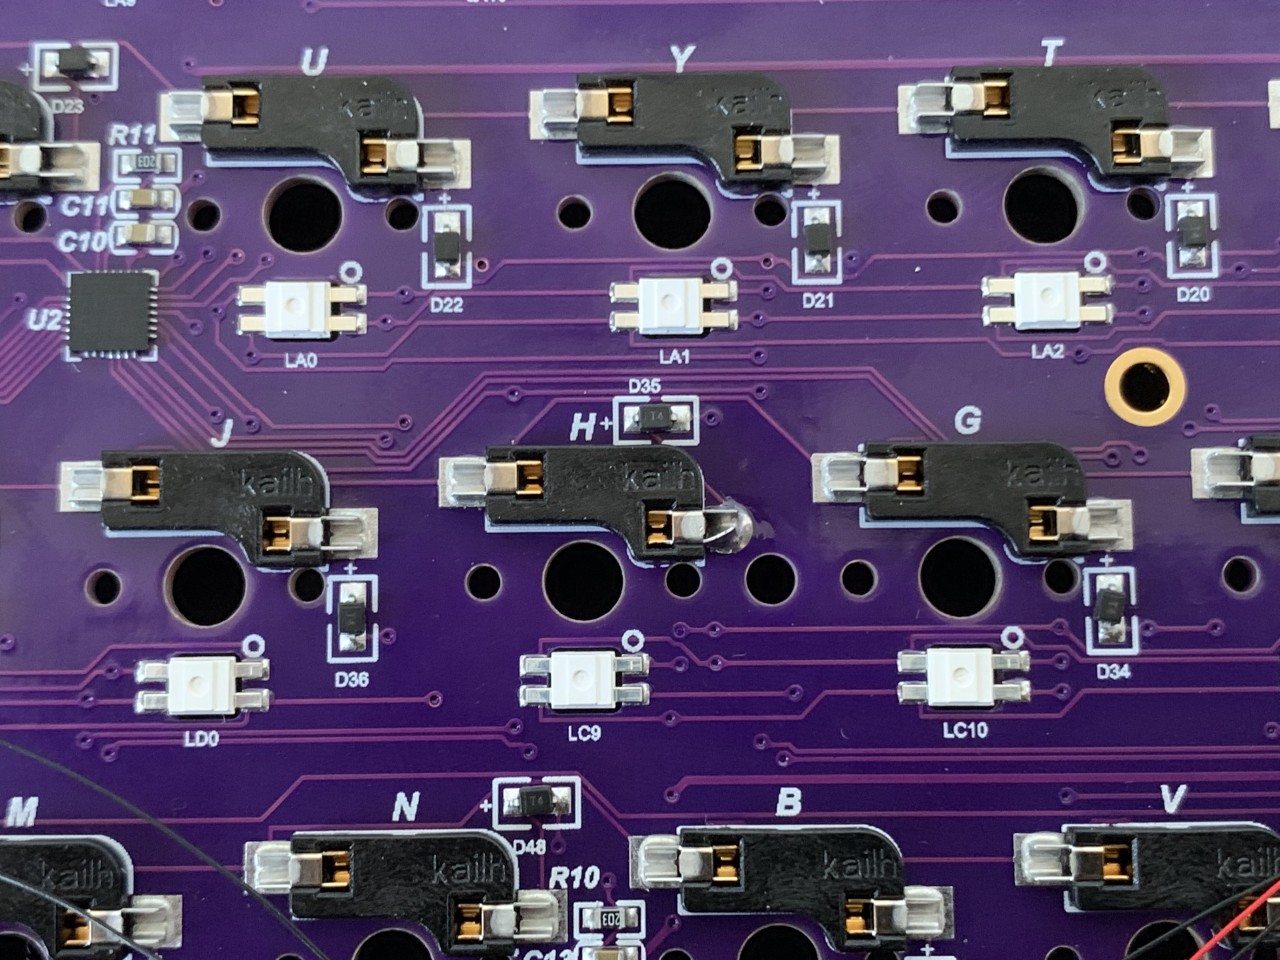
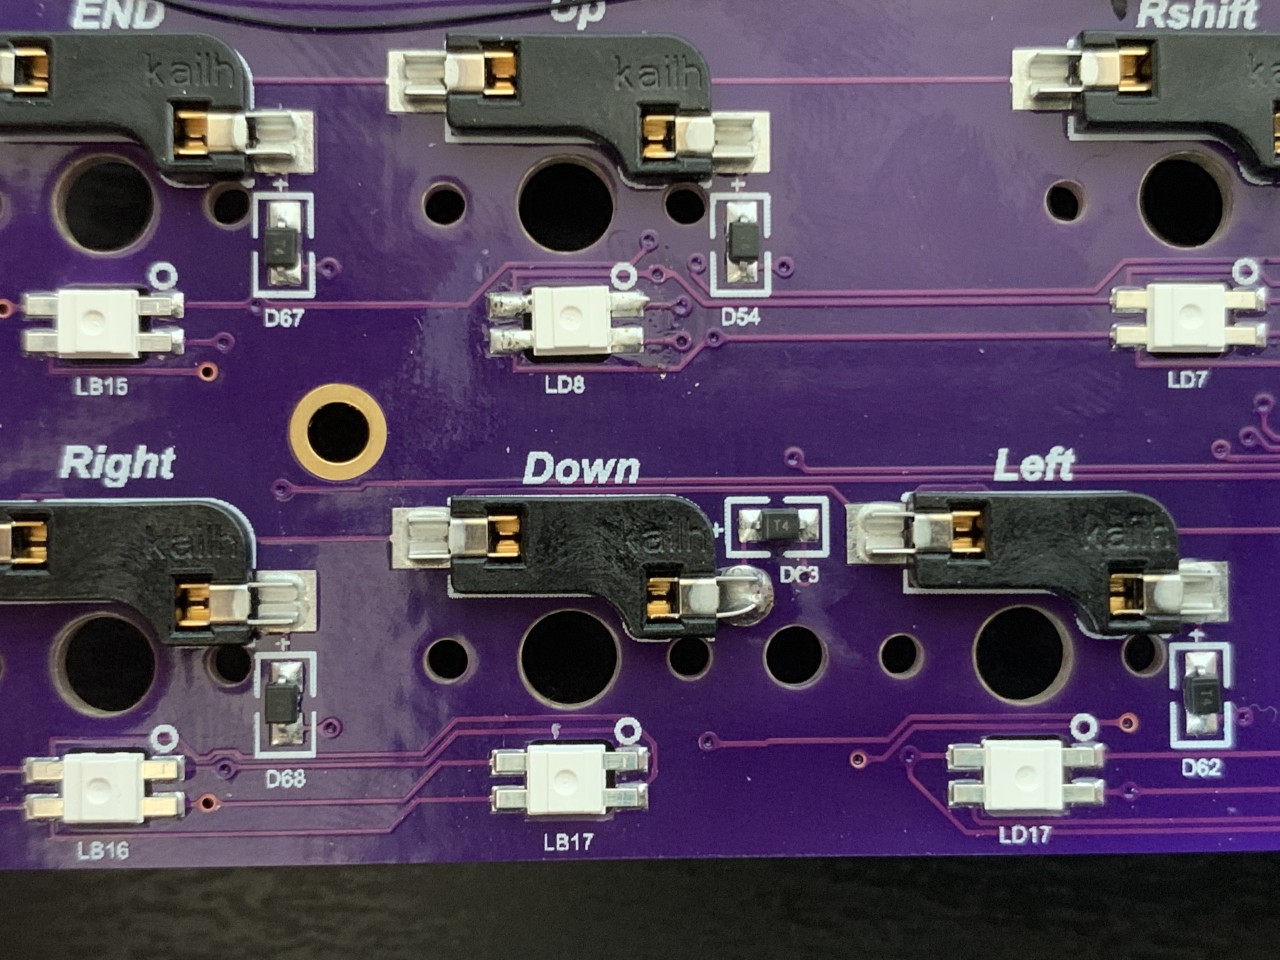
The DZ65RGB is manufactured in China, and the only distribution channel I have found is KBDfans. The firmware is under the subdirectory dztech in the QMK firmware, but I haven’t found any reference to that as a company, so it appears to be a custom design for KBDfans. Note that the board is physically labeled dz68rgb (because it has 68 keys), but the store page, firmware, and all product information refers to it as the DZ65RGB (because it’s a 65% board); and indeed newer revisions of this board are labeled dz65rgb. This board is designed as a drop in replacement for the TADA68 and supports the open source QMK firmware. It also has the very welcome addition of individually addressable RGB LEDs for custom lighting effects - much better than the single color non-addressable LEDs on the TADA68. It also has hot-swappable switches which makes building much easier, experimenting with switches is possible, and in the event that the PCB dies (like mine did), I can reclaim the expensive switches to use in a different board.
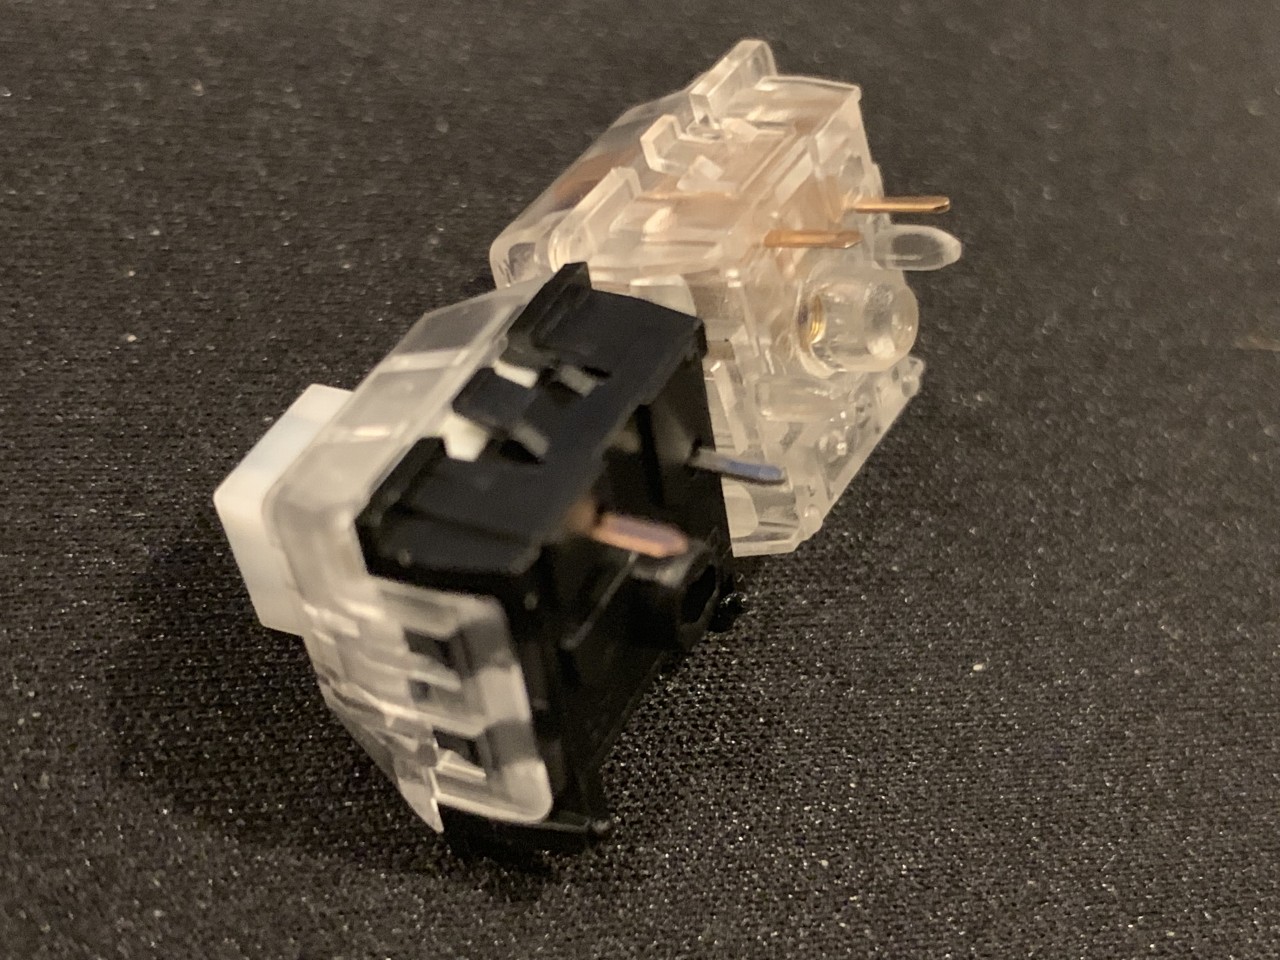
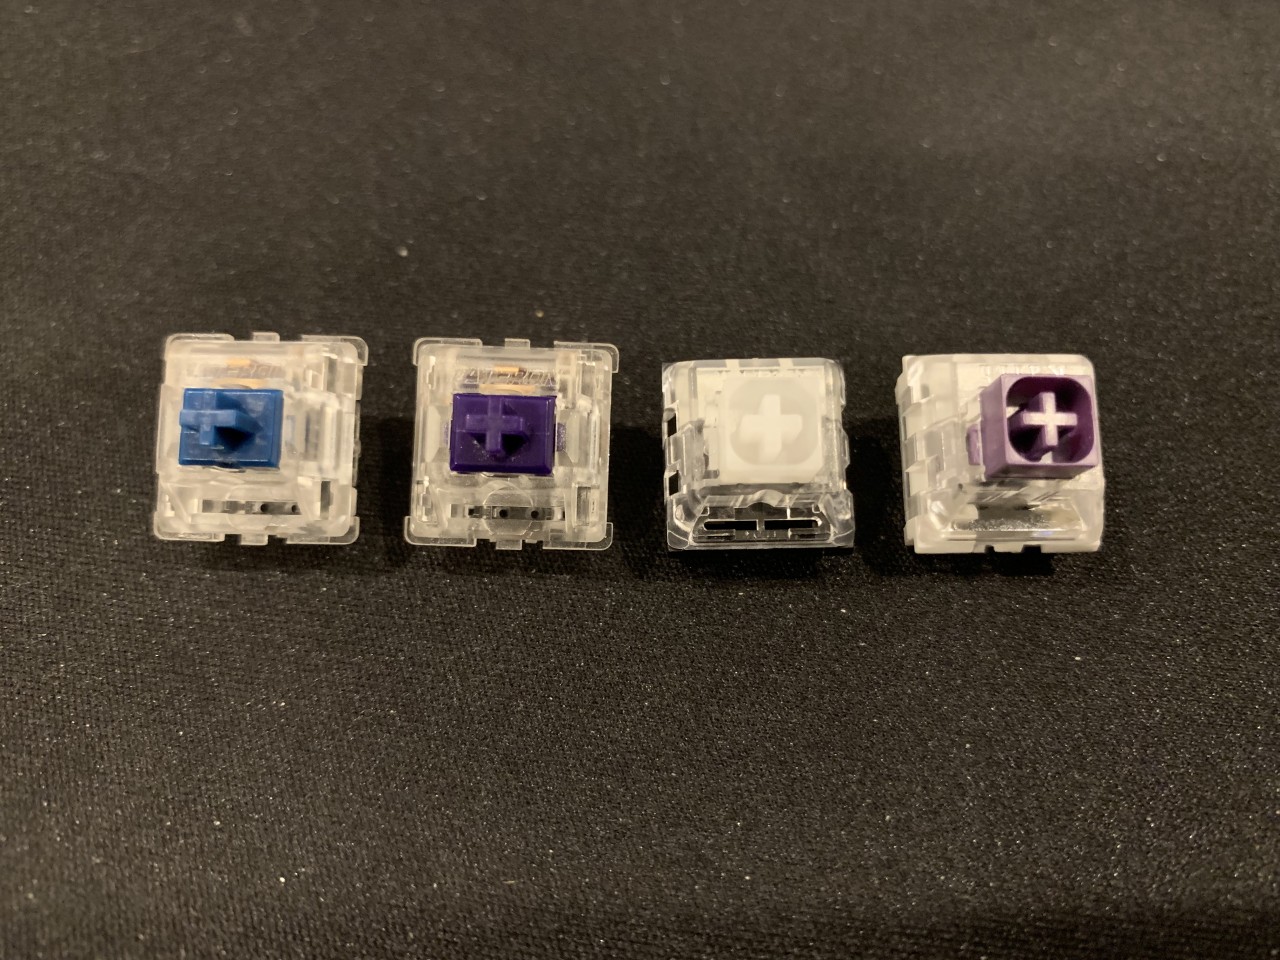
I previously used the Zealio 65g switches, which I really enjoy. This time I decided to switch it up slightly and get the Zilent 67g, which seem to have a slightly more pronounced bump at the top, and are very pleasantly quiet and smooth. I also wanted some heavier switches for the modifiers and the space bar since I tend to really smash space, enter, shift, backspace, arrows etc. To test out a few more switches I bought a handful of Zealio 78g, Hako Royal Clear, and Kailh Box Royal switches.
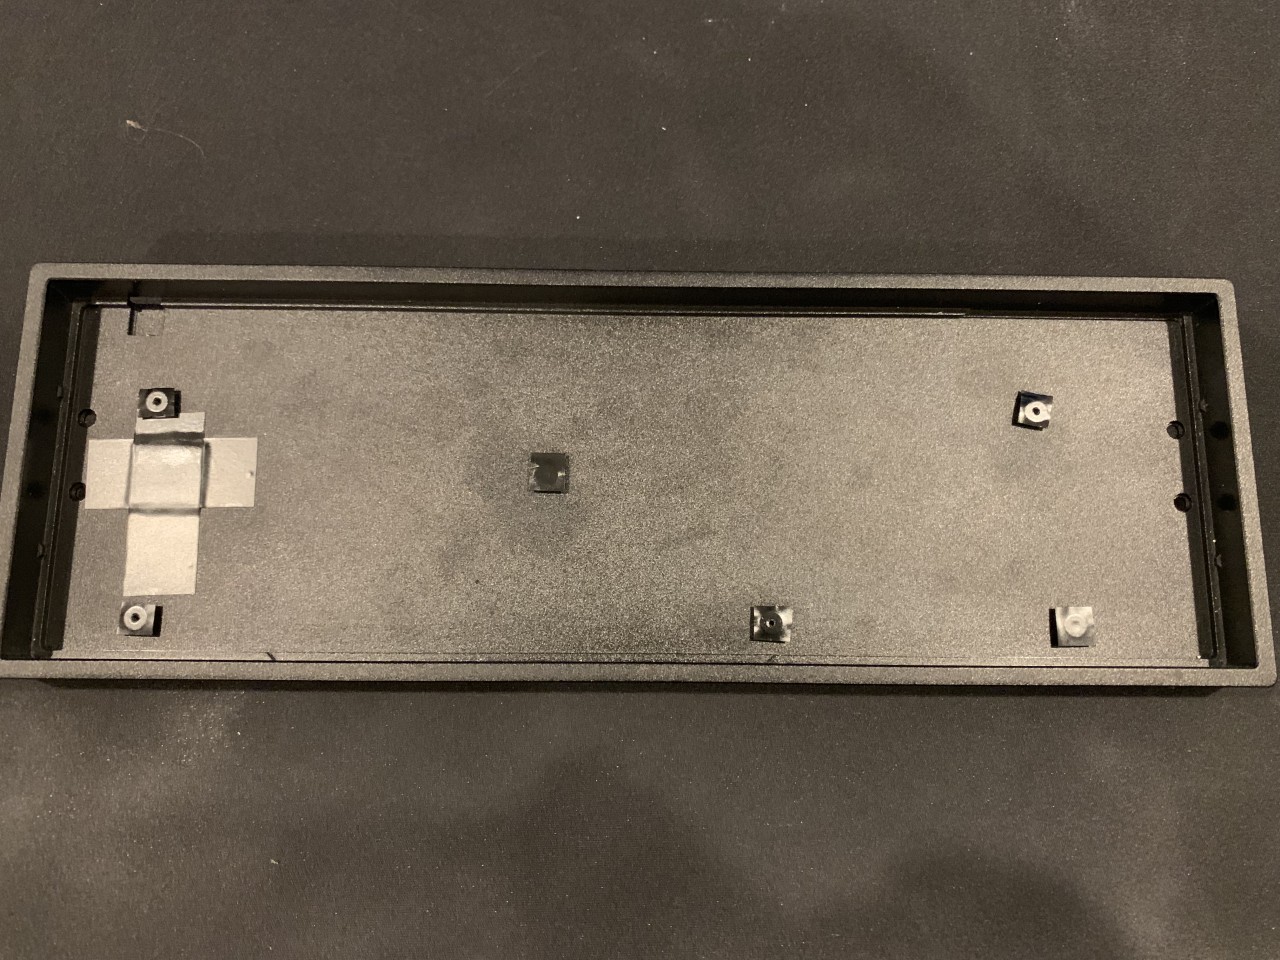
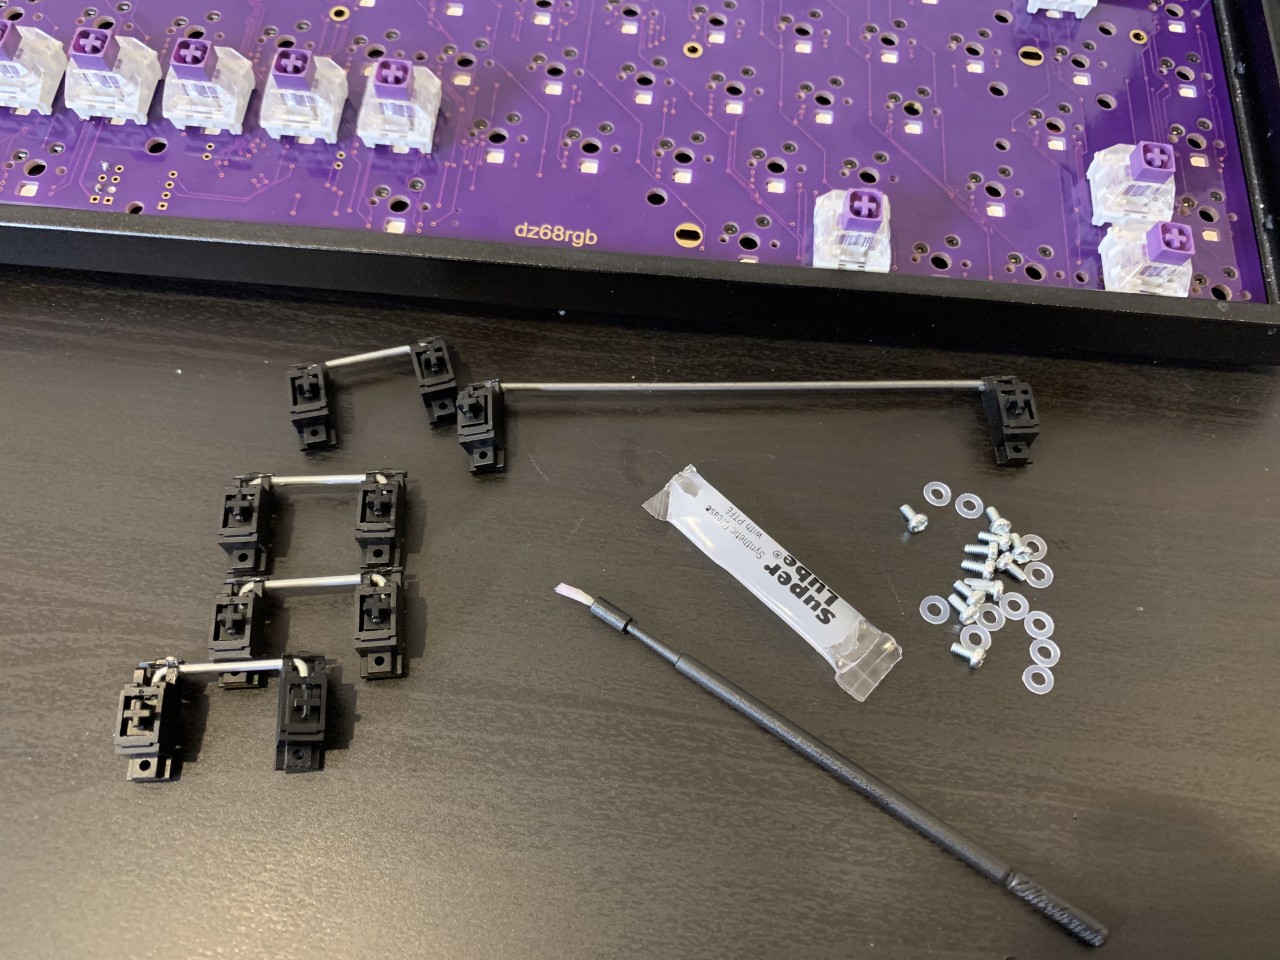
I chose to get screw in stabilizers for extra stability. I also opted for the brass plate. I had hoped the plate would add to the weight. It honestly pales in comparison to the weight of the case, but it looks fantastic. I’ve held onto the TADA68 aluminum case which I love. However there is a small compatibility problem with this case, which I’ll talk about next.
Modding
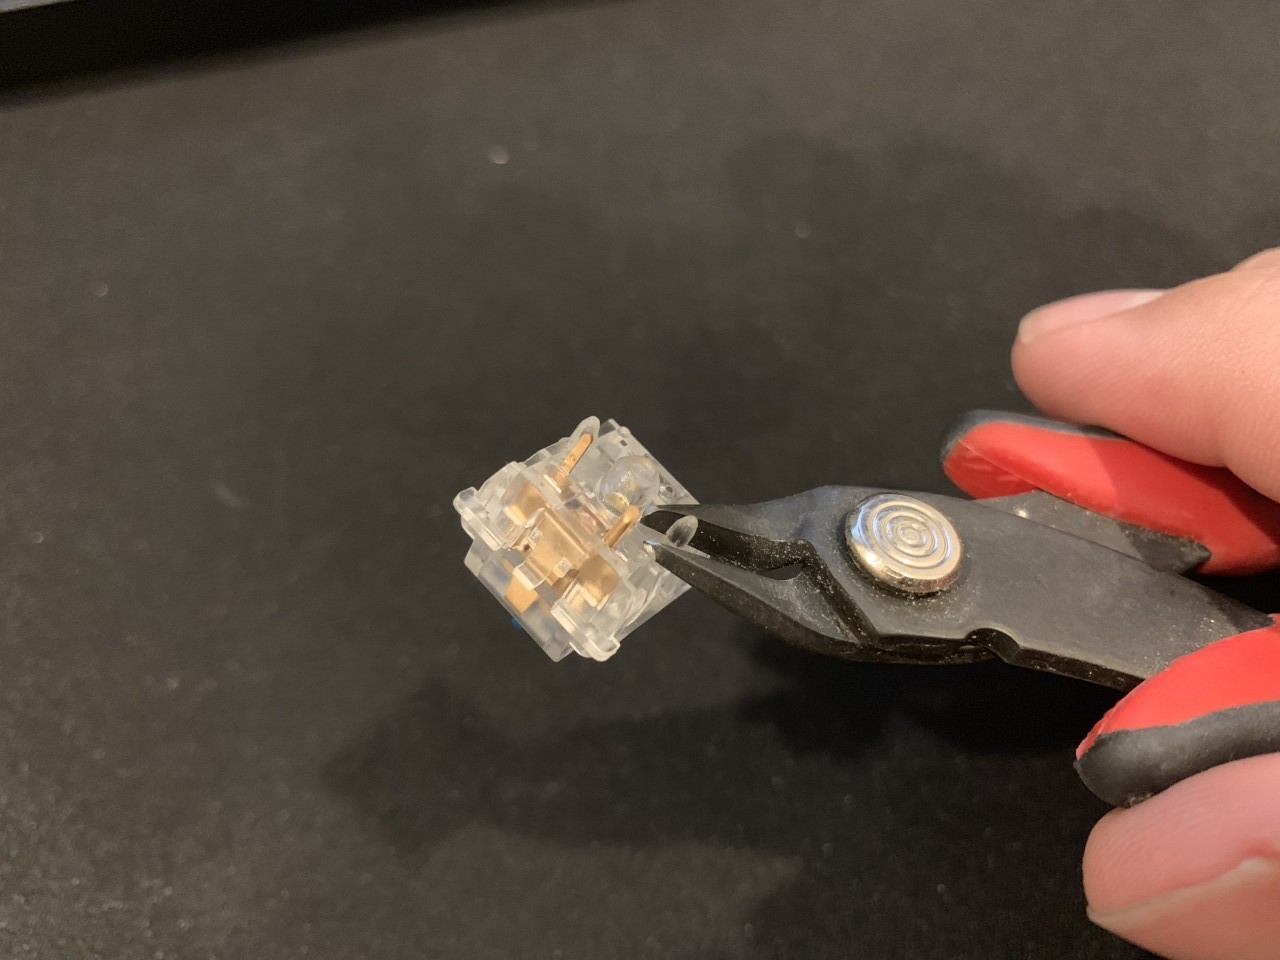
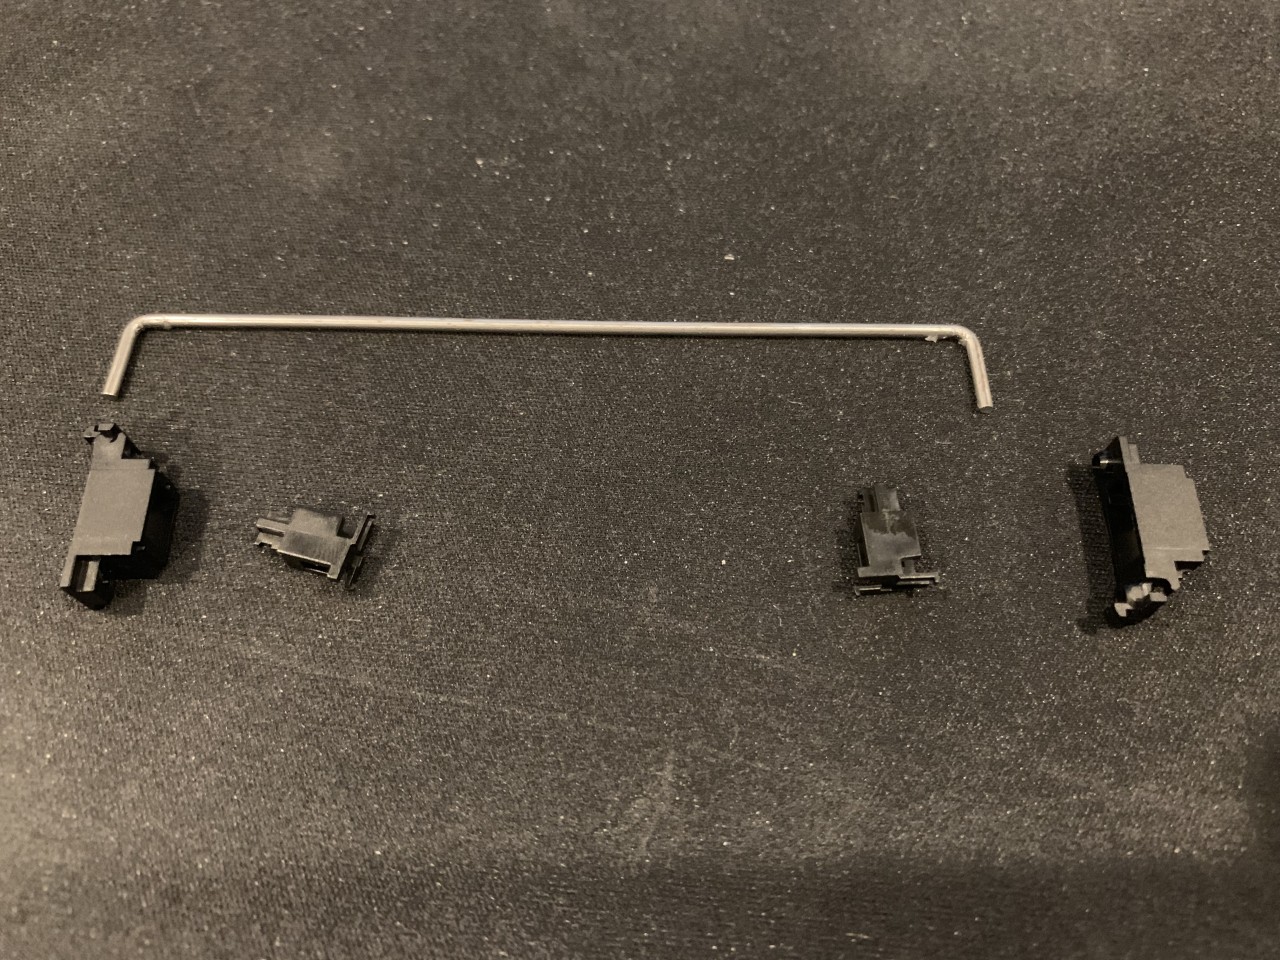
Because the hot-swap components on the keyboard add a little height to the PCB, they get in the way of the risers in the TADA68 case for screwing in the PCB. This can cause the solder joints to break on the hot-swap components specifically on the H and down keys, and the warping on the board can even break the solder joints on the RGB LEDs. I actually completely broke an LED on a spare DZ65RGB PCB due to this, so be careful. To fix this, I chose to use some M2 nylon washers to add space between the PCB and the case, I bent the pins for the hot-swap components near the risers, and I added solder to the joints to reinforce them.
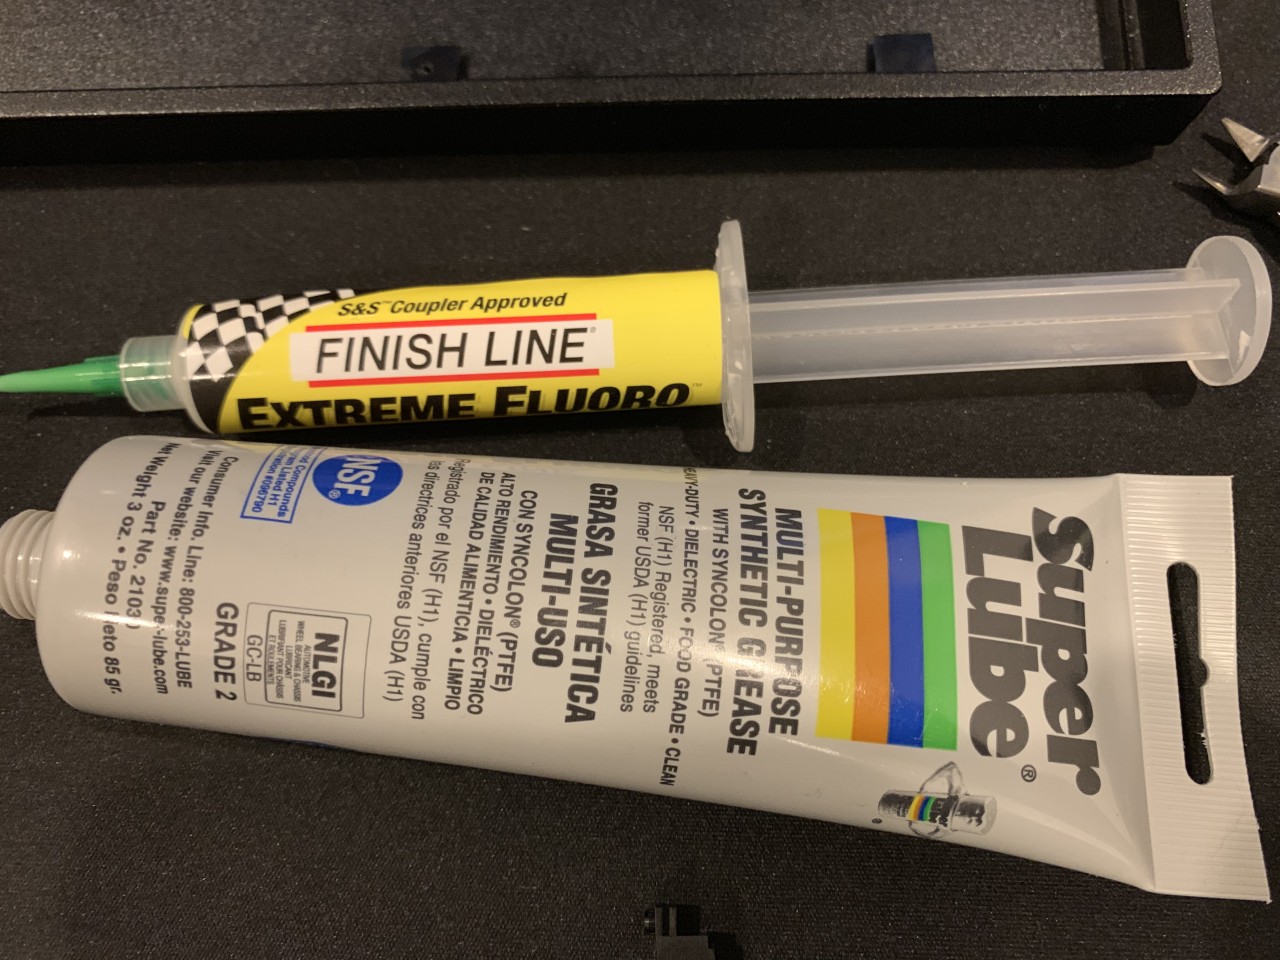
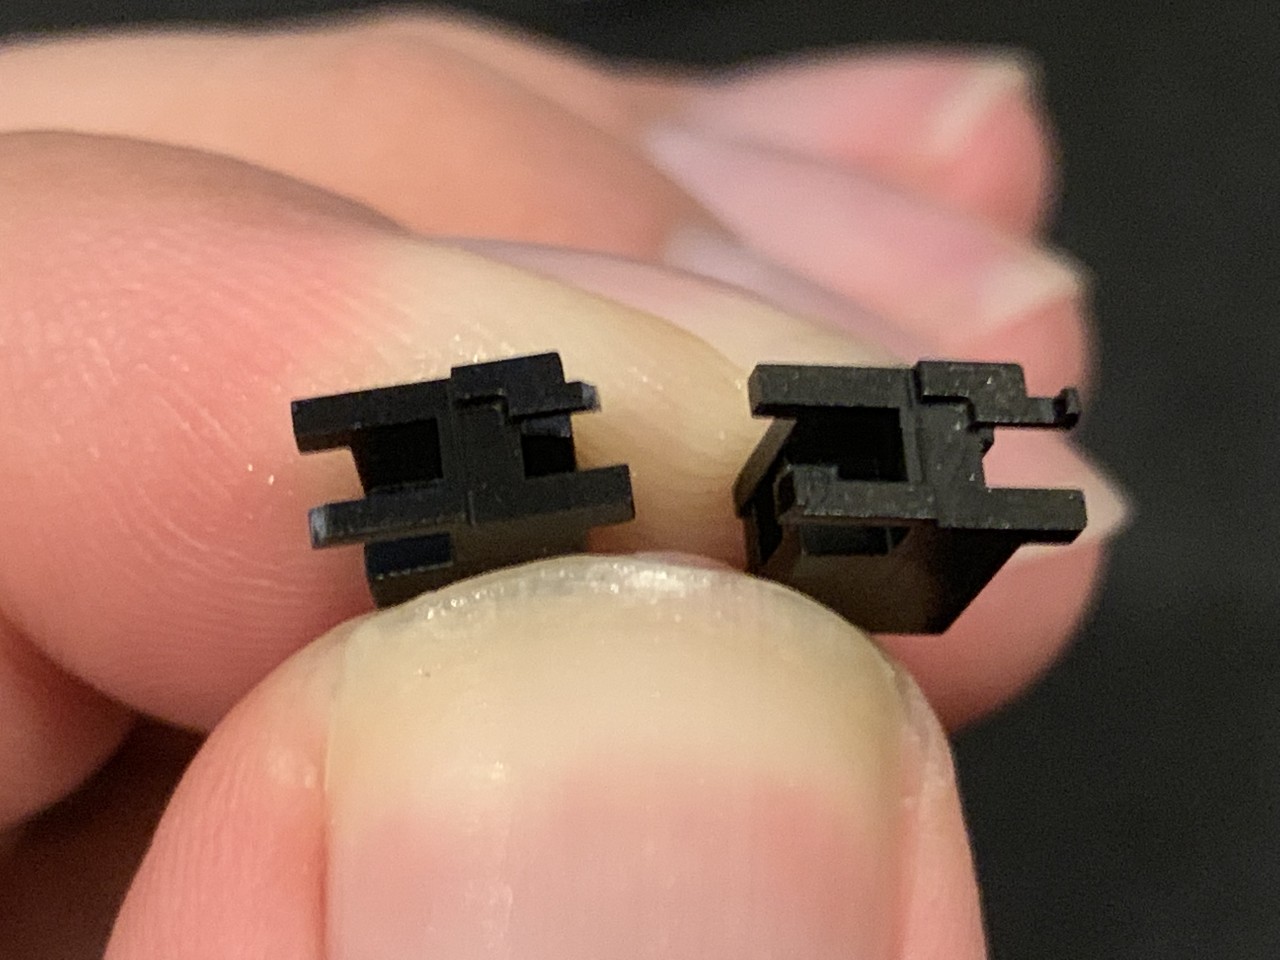
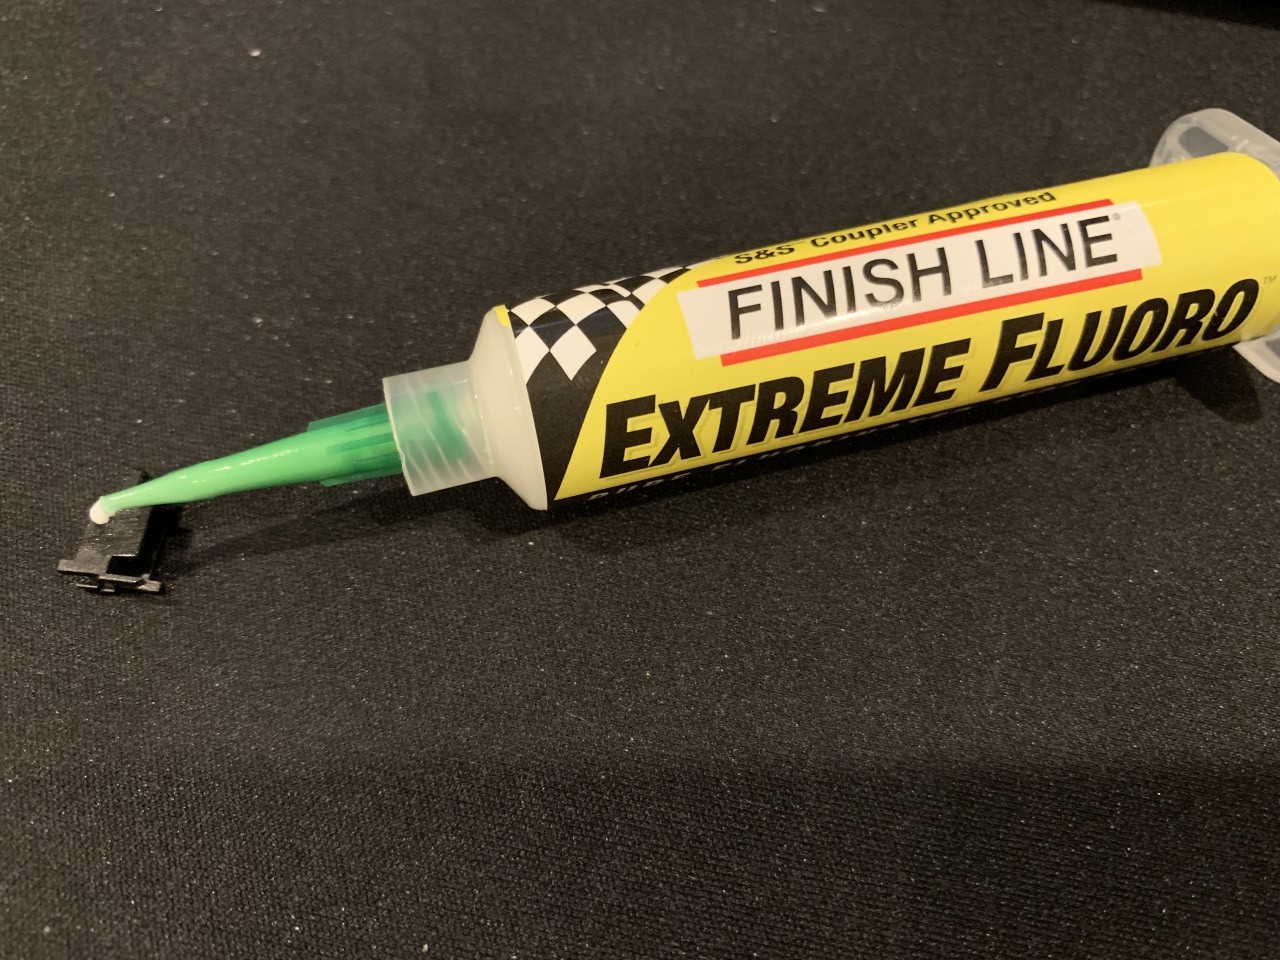
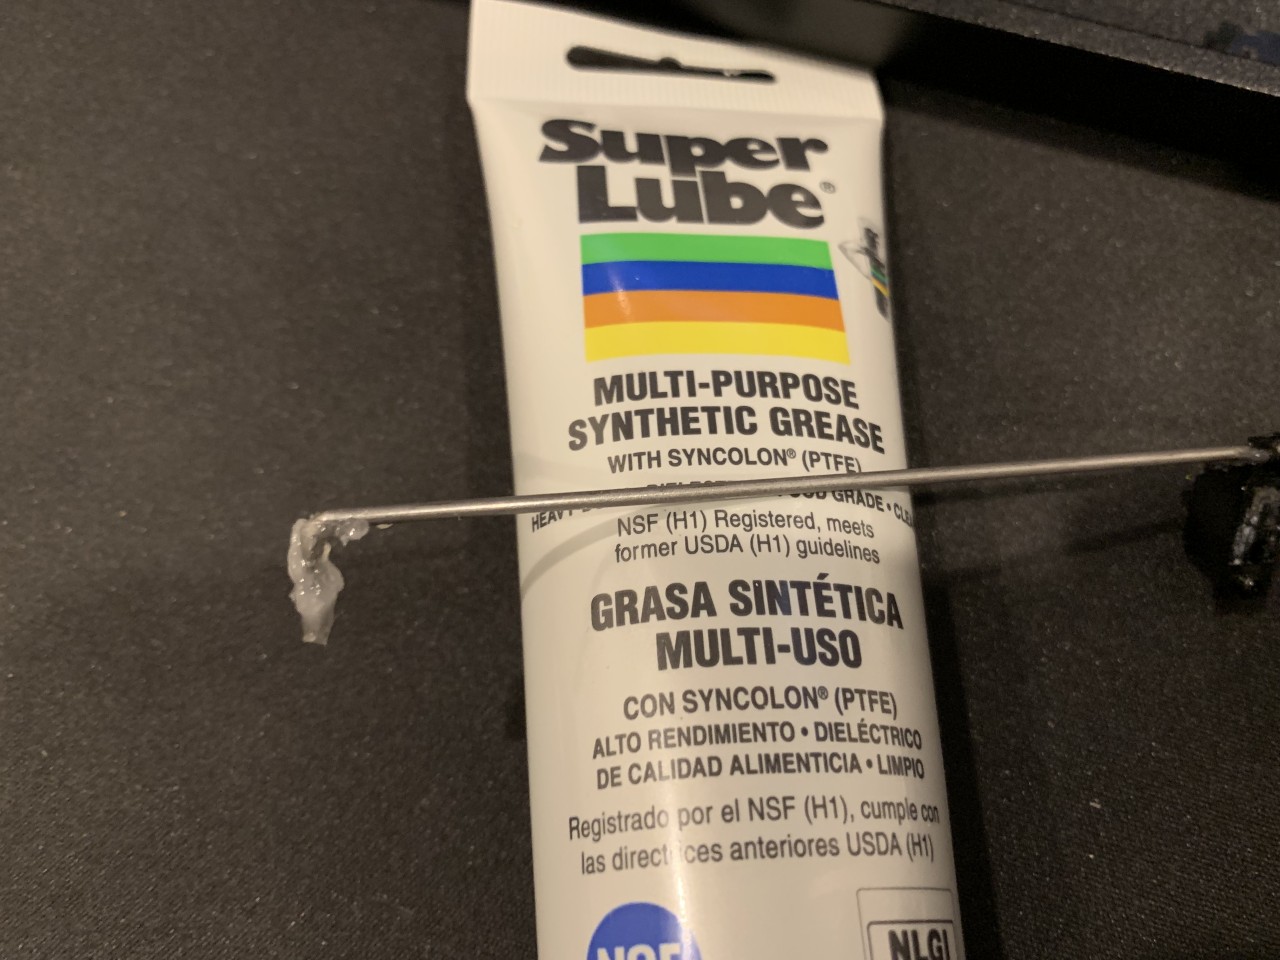
Since this wasn’t my first mechanical keyboard build, This time I wanted to experiment with a few more mods. I used superlube dielectric grease for where the stab bars enter the plastic housing. I then used teflon grease where the plastic stem enters the plastic housing on the stabs. I also tried some additional stabilizer mods. I clipped the pointy plastic tabs off of the stabilizers. I also performed the “band-aid mod” where you place cloth band-aid pieces where the stab would normally hit the PCB to reduce noise.

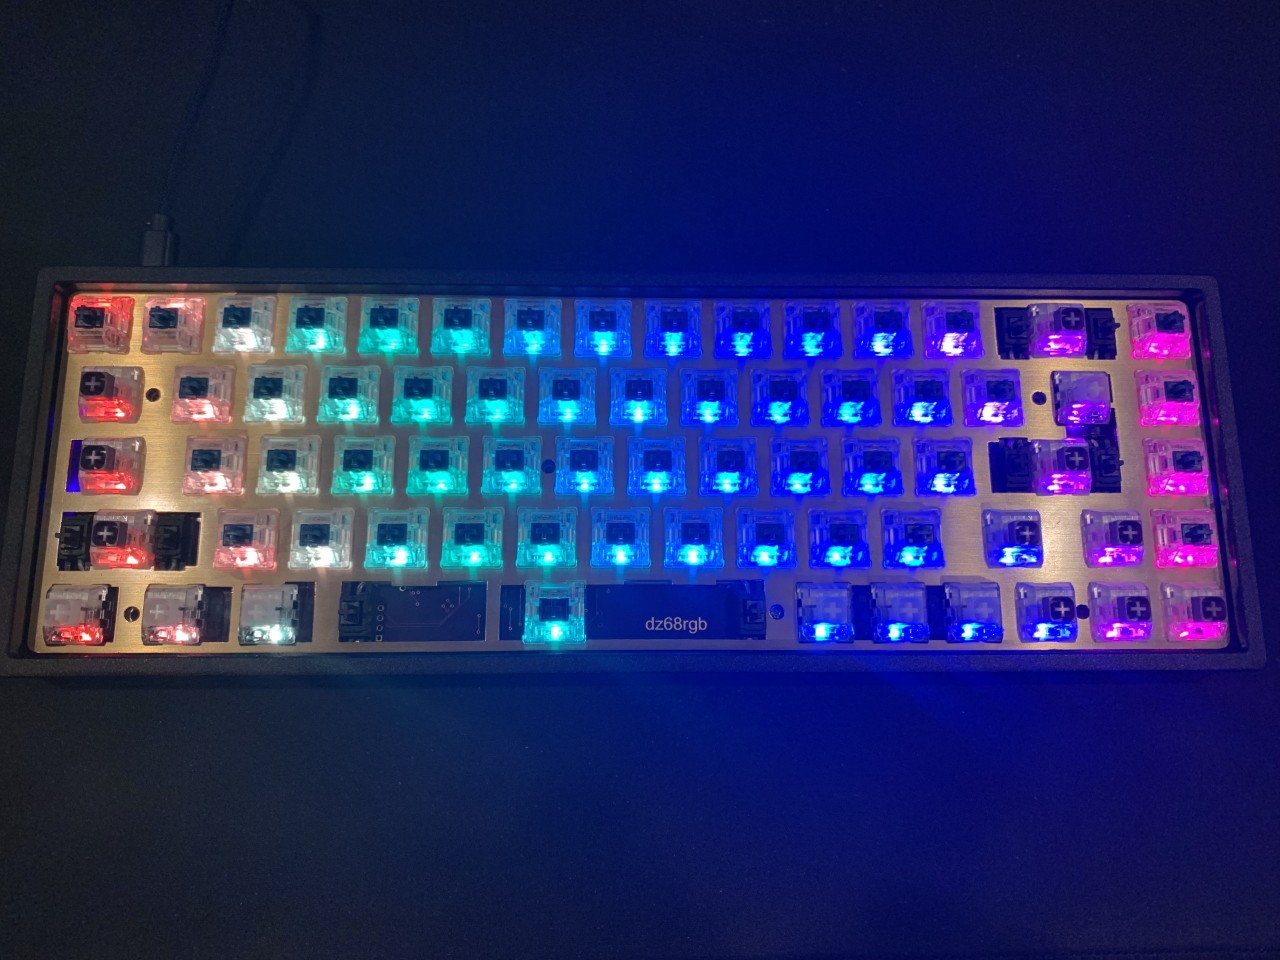
With the stabilizers installed on the PCB, switches positioned in the plate and keycaps in place, the keyboard is ready to snap together without any soldering!