I recently built a DZ65RGB keyboard to replace my TADA68 and I’ve been thrilled with it, but it is lacking one major feature: it has no underglow support. So I undertook a challenge to add high quality LEDs to the underside of my favorite TADA68 case, powered through the DZ65RGB PCB, and controlled by the keyboard microcontroller (an STM32 ARM Cortex) running the QMK firmware. While underglow is a configuration setting in QMK for many AVR microcontrollers, it is not supported out of the box for the STM32 ARM microcontroller, and it conflicts with the individually addressable RGB LEDs. This is a detailed tutorial on the hardware and software required to enable additional dimmable lights to any STM32 keyboard with full production-quality integration.
[Read More]Custom Keyboard - DZ65RGB

My previous TADA68 build mysteriously bit the dust, so I decided to build a new keyboard and reuse my TADA68 aluminum case. Thankfully I found a fantastic (nearly) drop-in replacement PCB: the DZ65RGB. It is another 65% keyboard like the TADA68, and has my most desired improvements over the TADA68: individually addressable RGB LEDs, USB-C, hot-swappable switches, and a lovely purple and gold color scheme!
[Read More]Custom Keyboard - TADA68

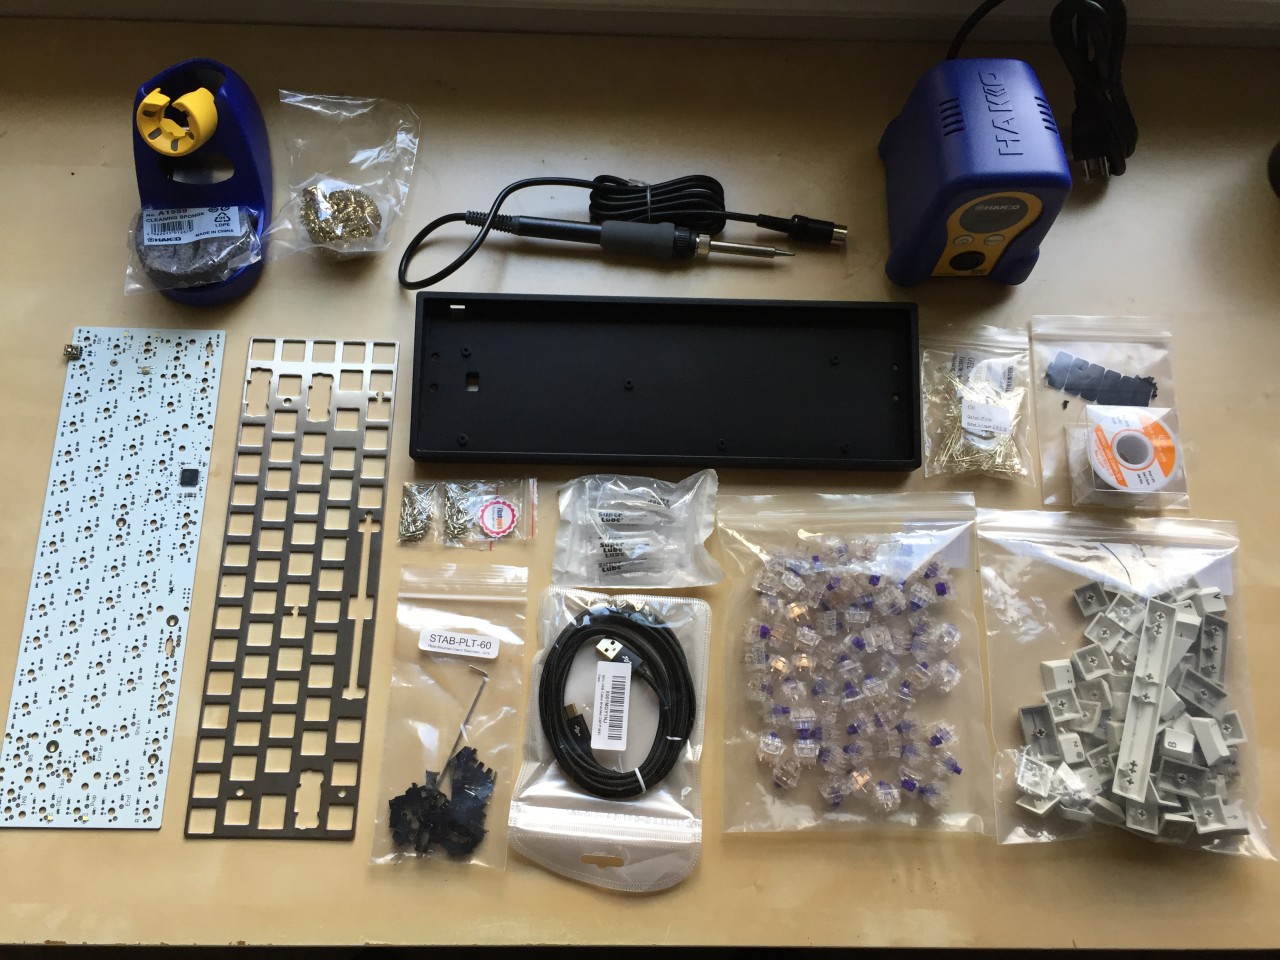
As I learned more about the world of mechanical keyboards, I wanted to experiment with new switches, play with new keycaps, and most importantly try my hand at building my own.
[Read More]Monitor Overclock

In late 2012 I decided to try out an imported Korean Yamakasi 27”; 2560x1440 IPS display. These have become particularly popular because of the high quality panels (the same as the Dell and Apple high-end monitors) at less than half the price, with some early models capable of overclocking to 120Hz. I decided the benefits outweighed the risks of spending so much money on a monitor with essentially no warranty. The panel was excellent, with no backlight bleed, excellent color, no dead pixels, and good response time. Unfortunately after 1 year the DVI board fried, and I ended up with similar problems to the one below:
[Read More]Gameboy Backlight

“Chiptune” is a term used to describe music created using specifically limited hardware, usually for classic computer equipment like the Gameboy, the C64, etc. I’ve always found chiptune music interesting, and wanted to try my hand at making some with an original gameboy and LSDJ. Since I wanted to play around with it before bed, I decided to install a backlight in my gameboy, from KitschBent.
[Read More]MIDI Controller

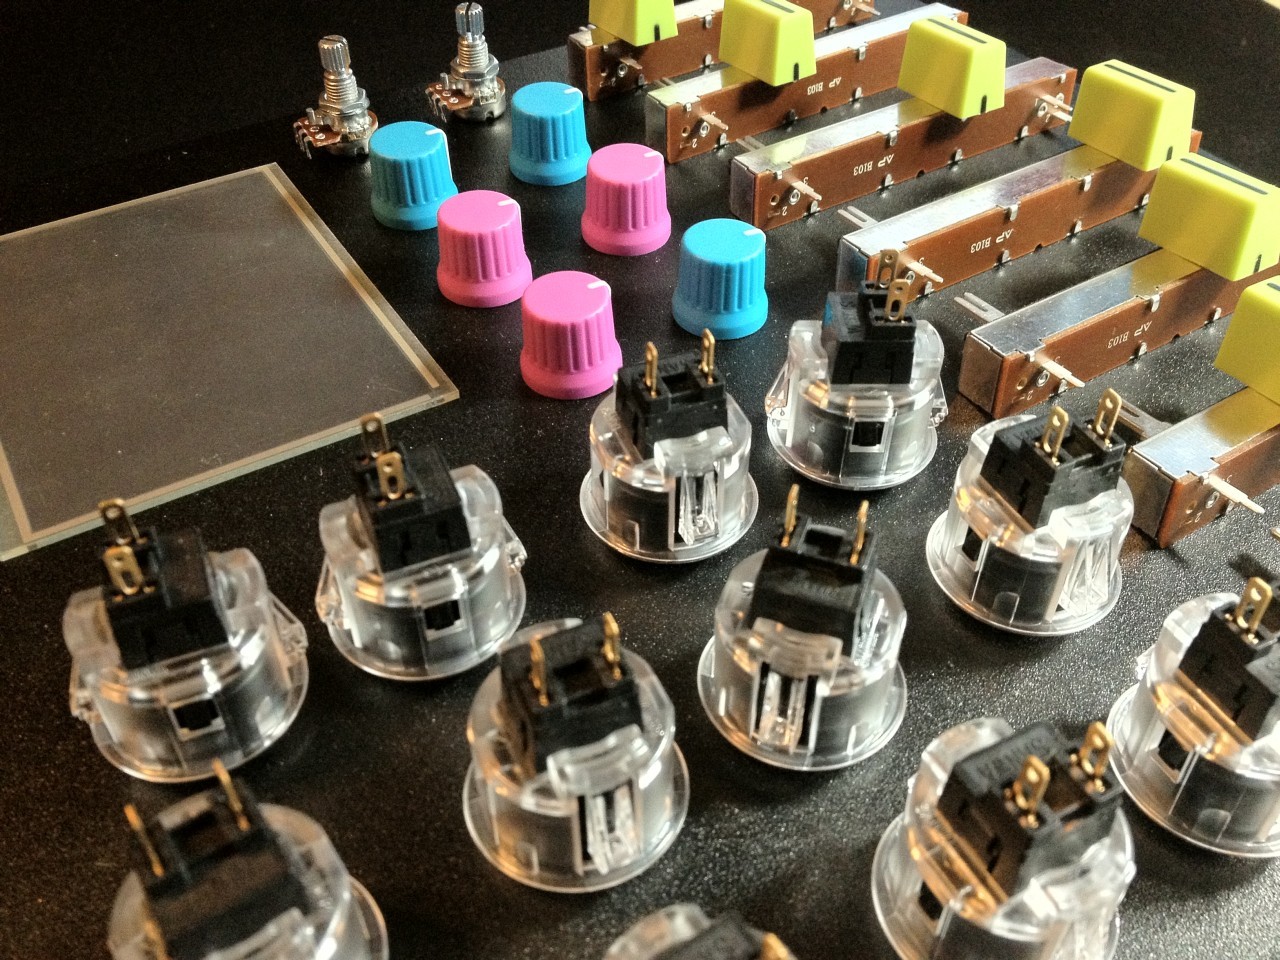
I’ve been interested in making some nice electronic music and sound effects for my games. I tend to find the UI of different VSTs frustrating, so I was interested in getting a MIDI controller that could help speed things up. I’m also interested in the possibilities of rigging the MIDI knobs to variables in the code so I could tweak different parameters in real time. Like any good (over-)engineer, I researched what it might take to put one together myself. For whatever reason I find this sort of controller hardware fascinating.
[Read More]Mini Server

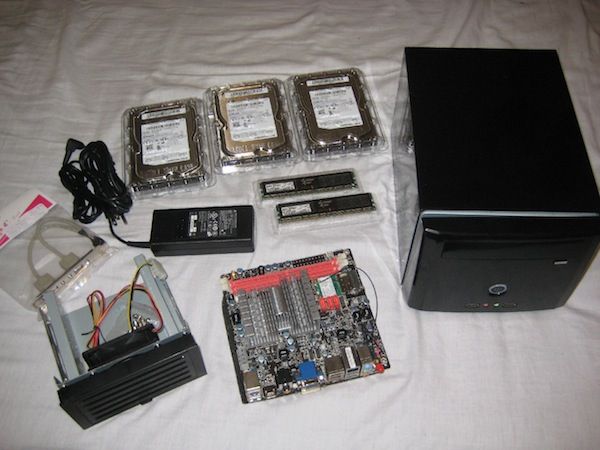
This is an old server build when mini desktops were pretty rare (Shuttle was the most popular solution at the time). I wanted to build a small, efficient, always-on server. The system could be used as a home theater PC, act as a backup server, host public and sandbox websites, code repositories and many other things. With the price of storage dropping and some impressive mini-itx motherboard options out there, the perfect storm of hardware pushed me to build a mini-server.
[Read More]Remote Controlled Turret

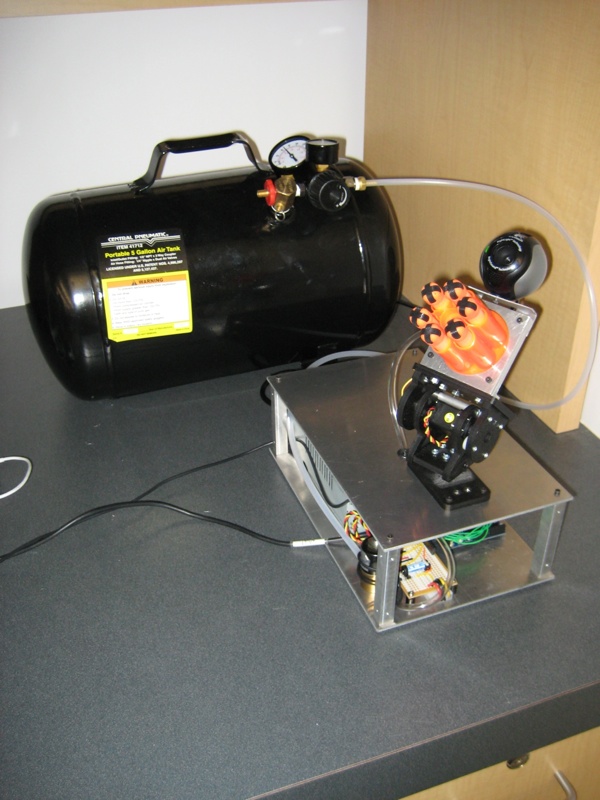
A pneumatic nerf turret, controllable via a flash interface over the internet. It holds six shots, has a webcam for aiming, LEDs for use in the dark, an approximate range of 20 feet, with hundreds of shots between tank refills.
[Read More]